Our Blog — Circle of Stitches

Circle of Stitches

Purveyors of fine yarns and witchy goods

Guest User

The Knitting Barber Cords: Why I was wrong and why they’re awesome (and how to use them)

Guest User1 Comment

I first heard about The Knitting Barber Cords through the shop newsletter. My immediate thoughts were:

What in the world are these?

What are they used for?

These are ridiculous, and silly!

Then I watched the episode of With Love, From Salem (on a side note, you should absolutely watch, the episodes are short, and Jacob and Ana are clearly having too much fun), where Ana did a demonstration of how to use the cords, and it honestly didn’t help my judgment of them. 

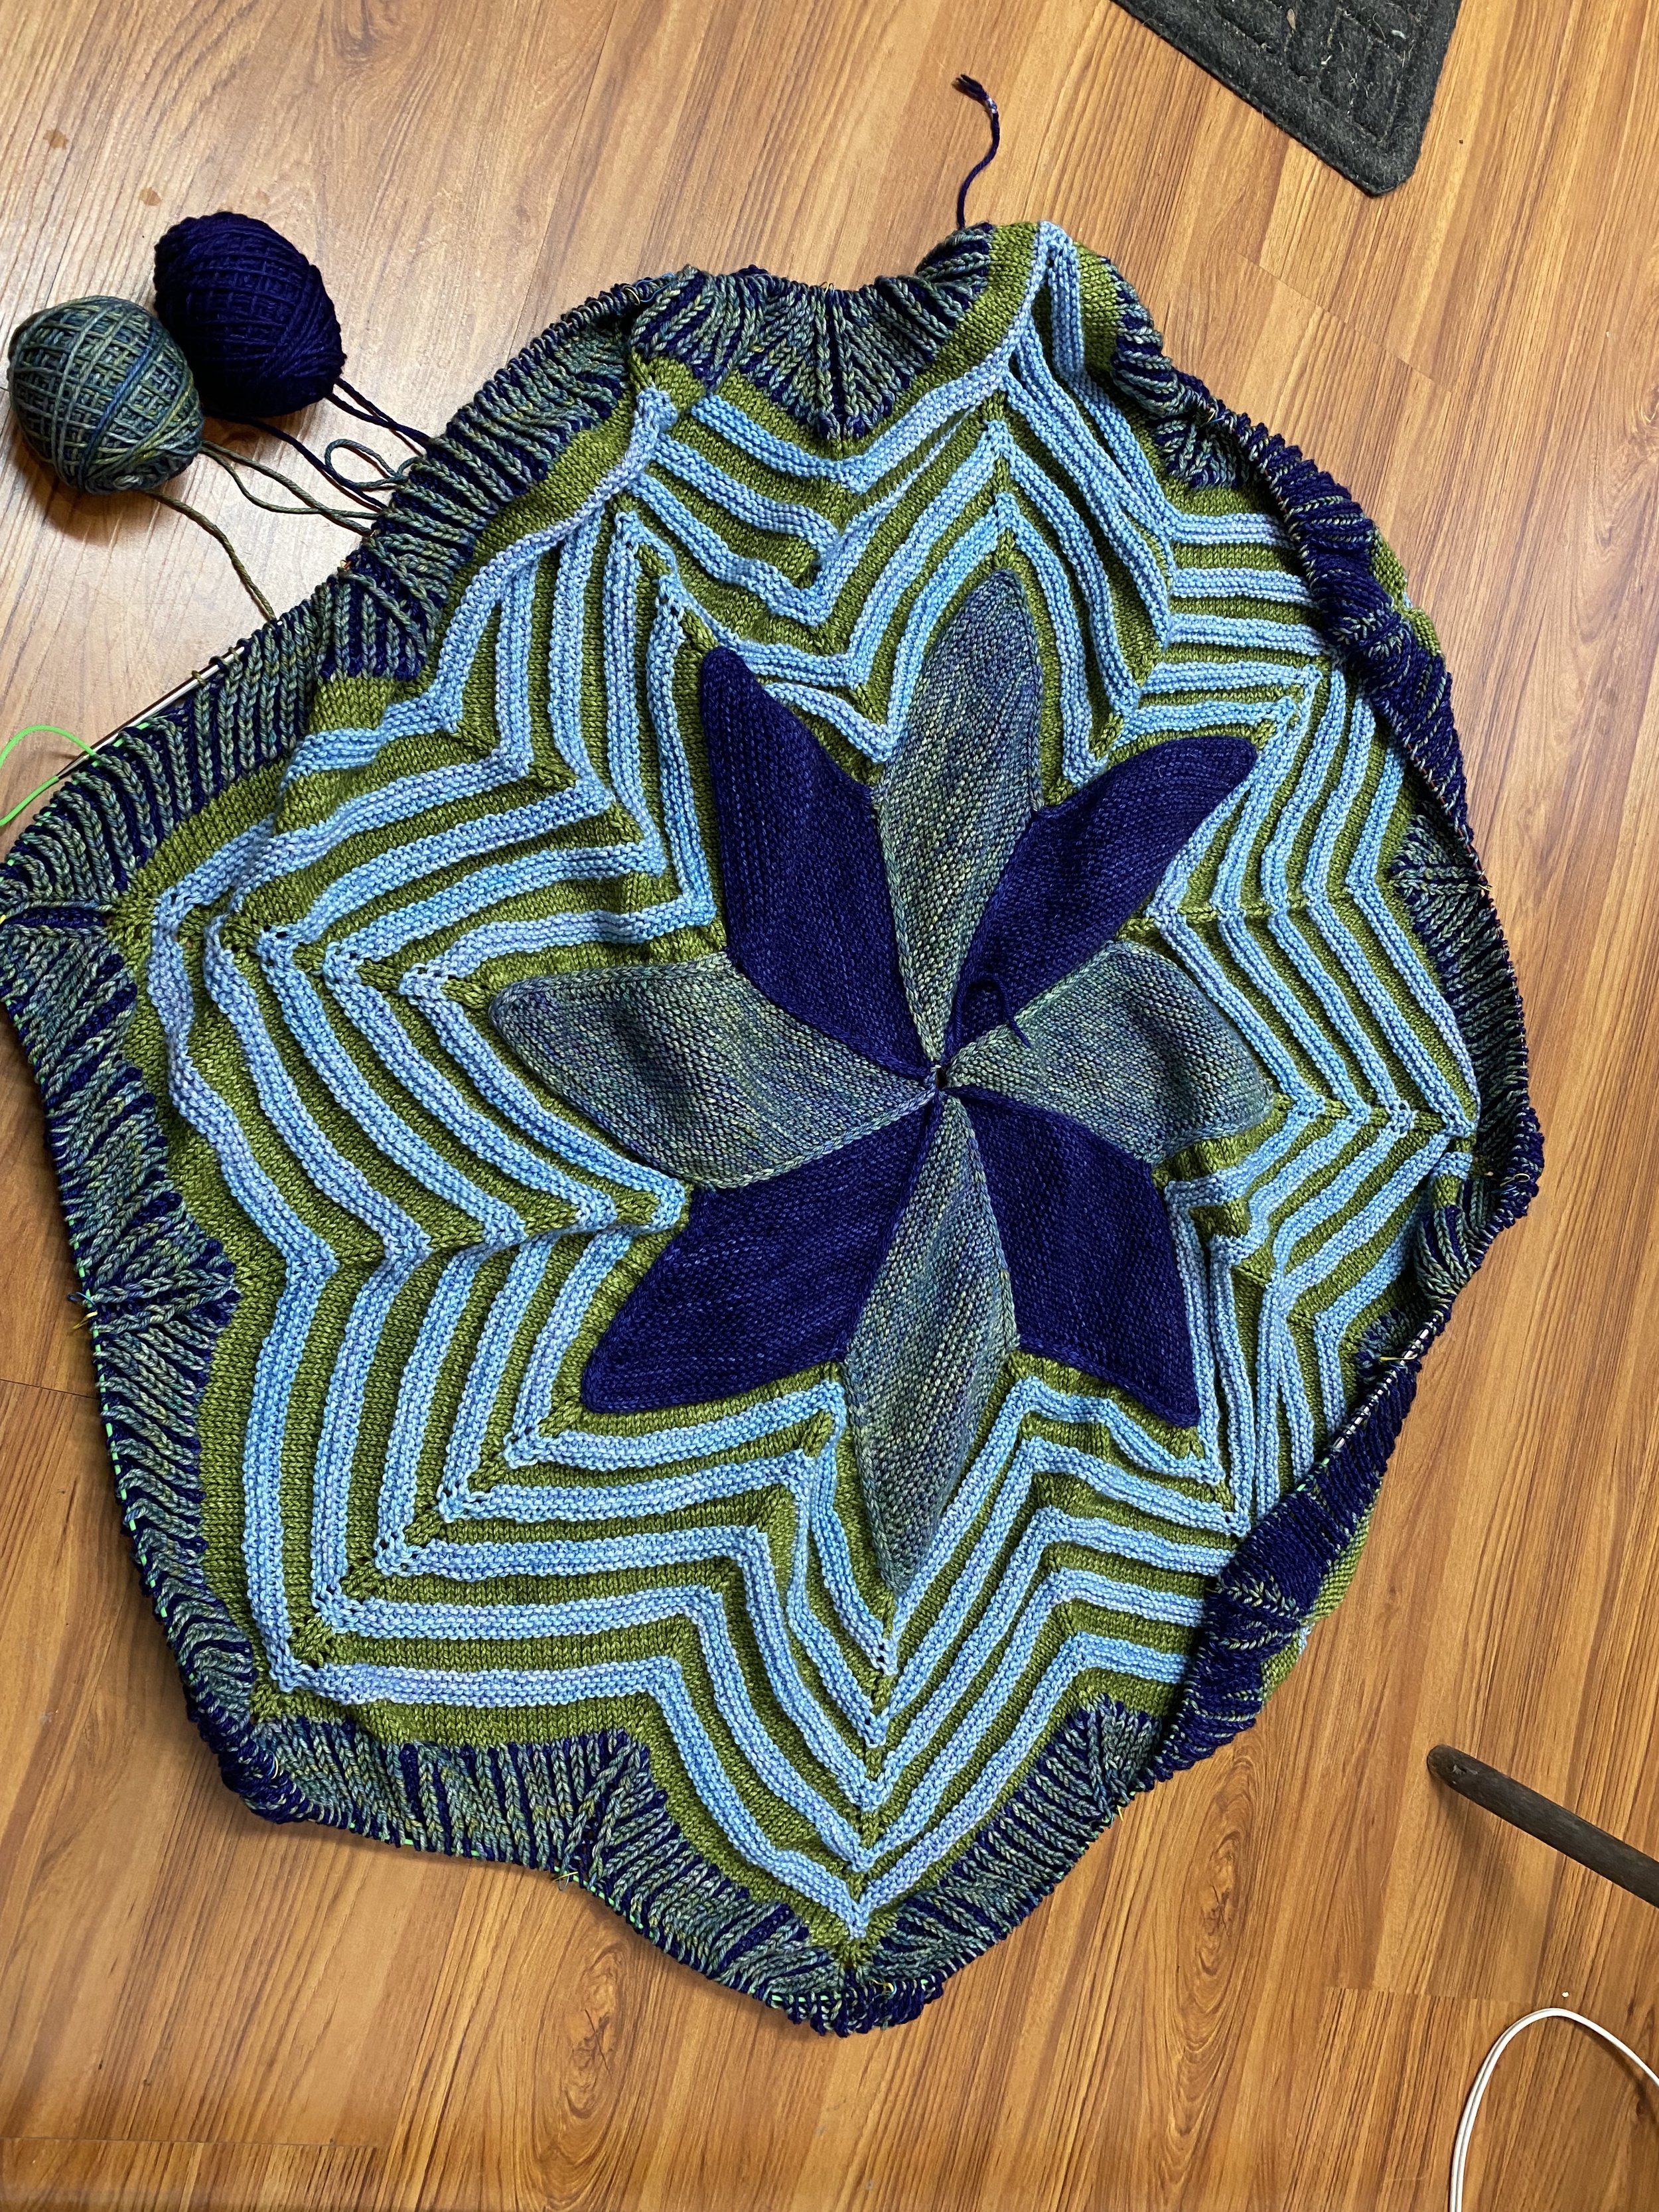
Annie was kind enough to take the time to show me how they work and helped me try them with my Starflanket.

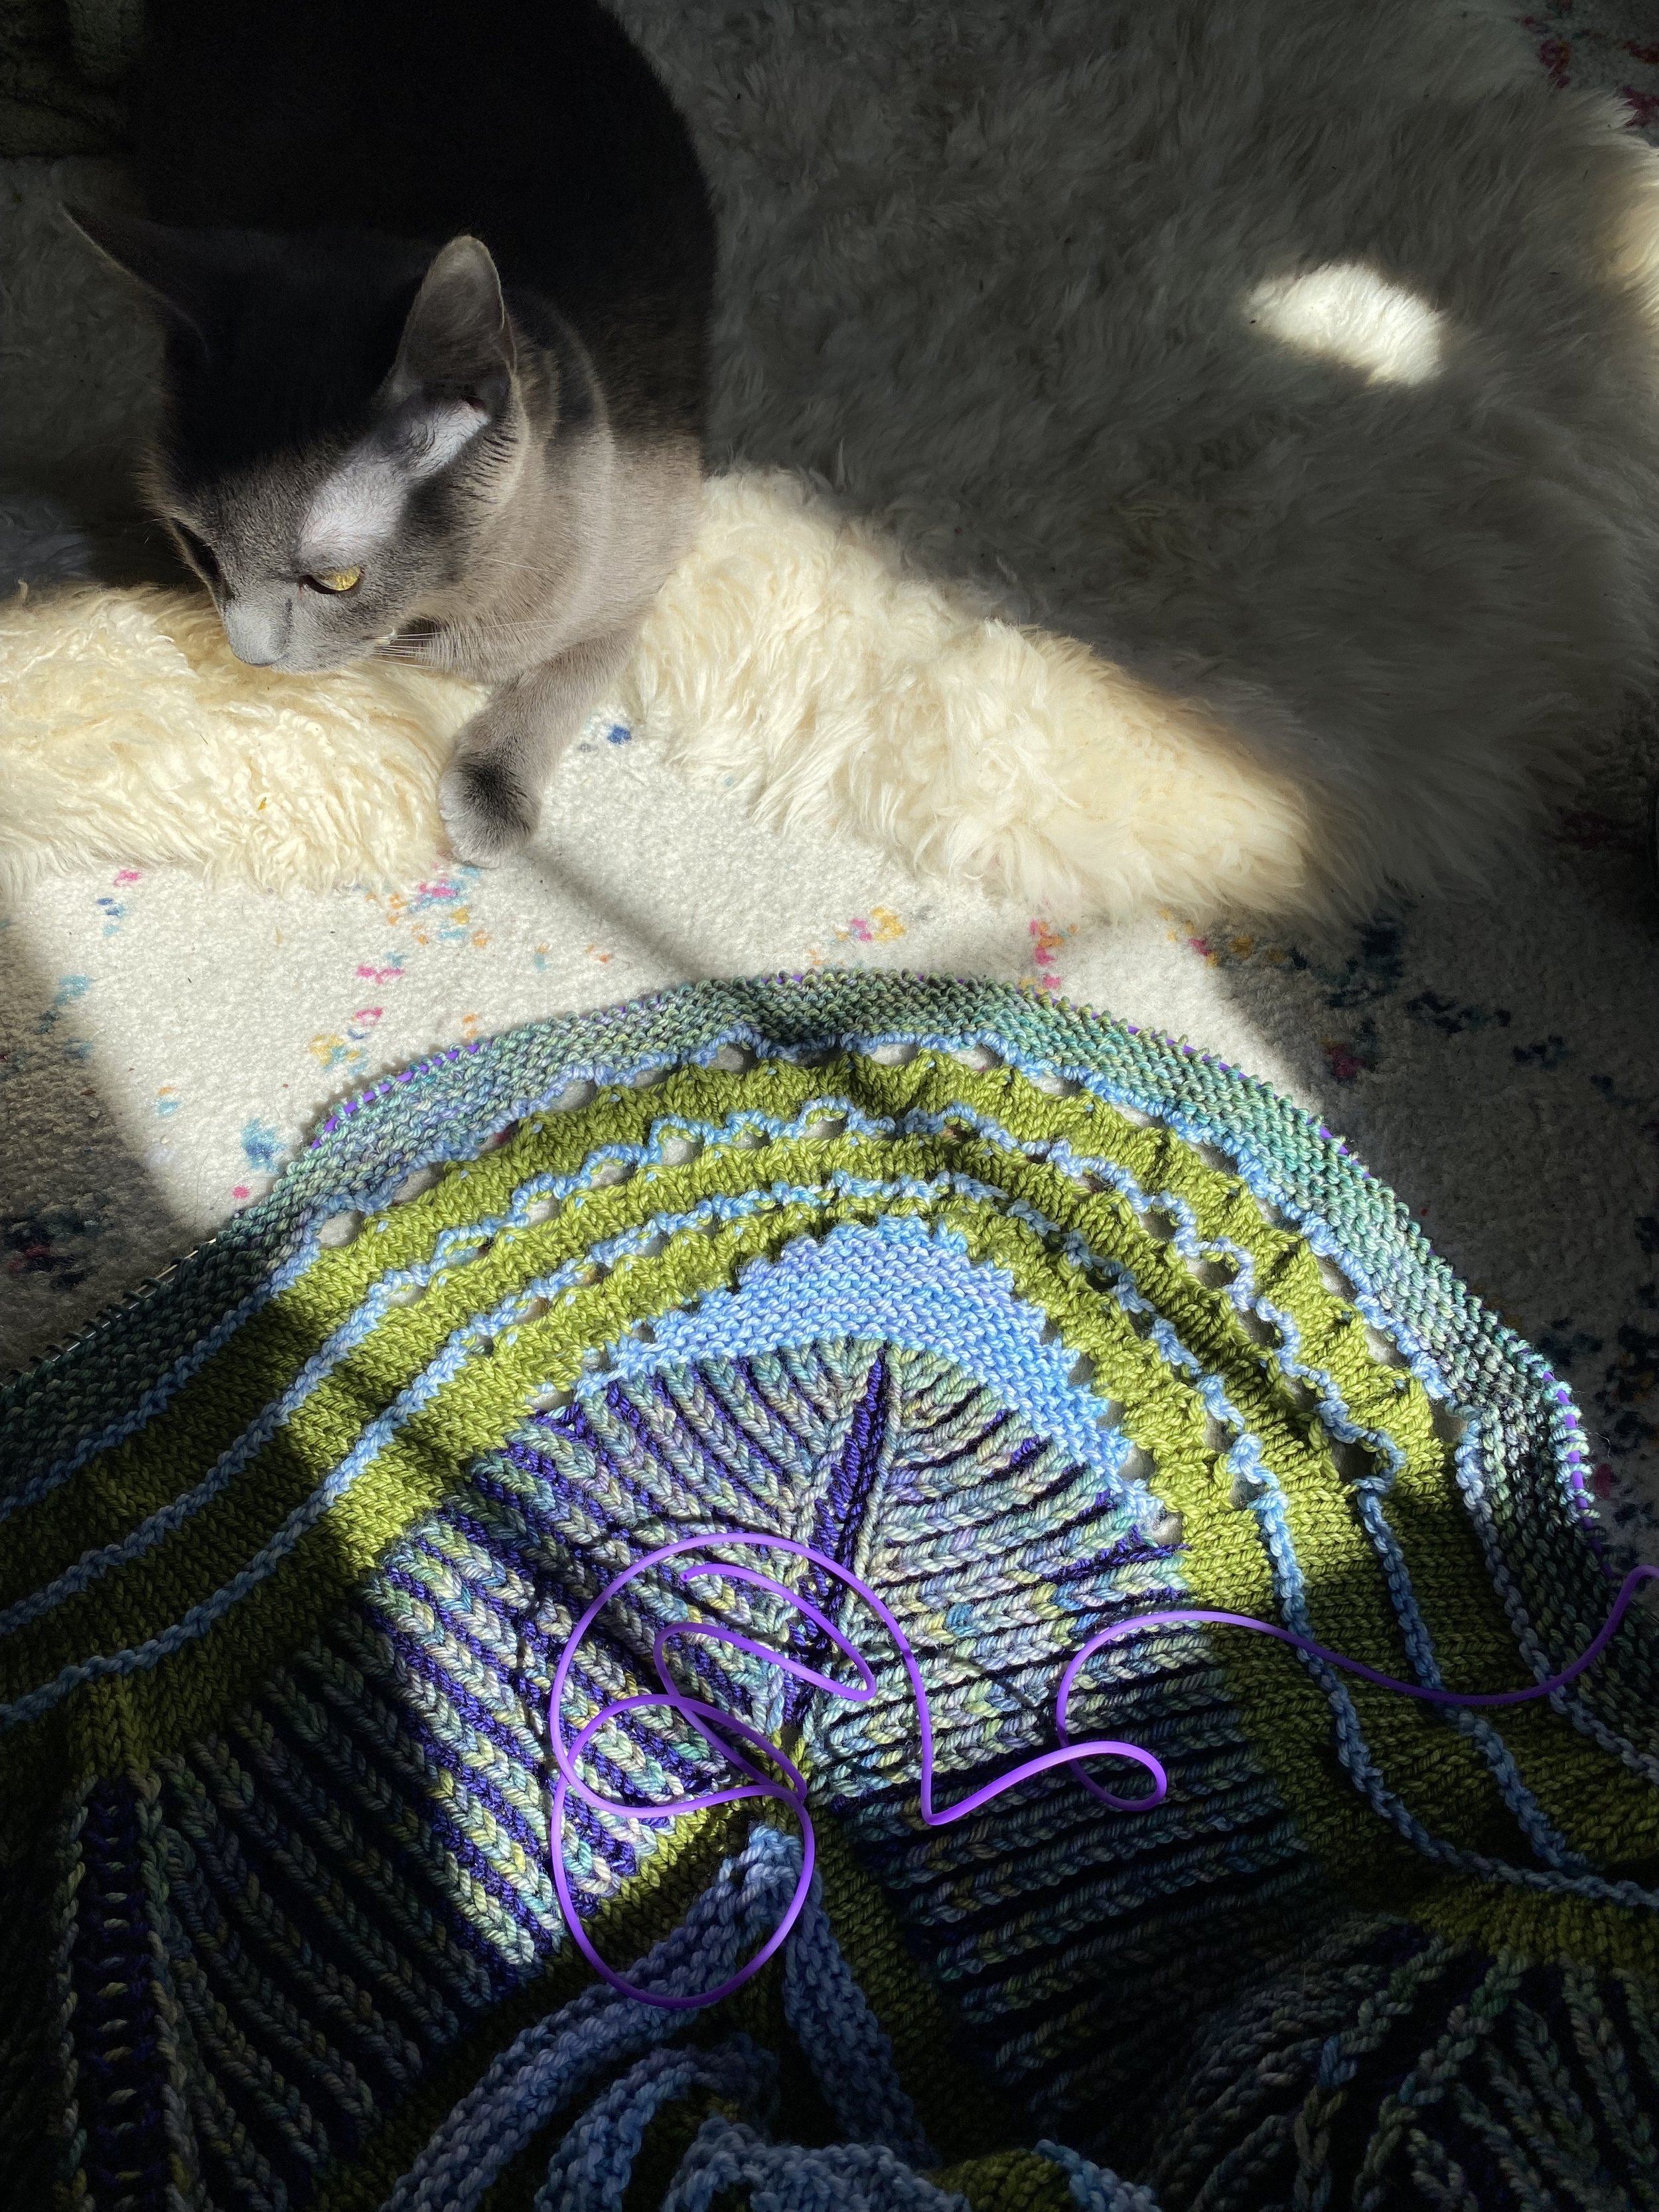
It wasn’t until I went to the shop in person mid-January and tried them out for myself! I truly couldn’t have been more wrong with my initial thoughts. Ana even quoted me in a newsletter saying “TKB cords are amazing. I first thought they were stupid and pointless, and now I think I use them daily.” I still stand by this! So far this year, I have been knitting a very large blanket, and a top down sweater. These cords have helped me knit the sweater by allowing me to see the true shape, rather than the shape of my knitting needles and cables. I think I’ve tried this sweater on more times this week because it’s so much easier than I did my entire last sweater. They have also helped me manage my large blanket project and see the shape and texture better than traditional circular needles.

Step One:

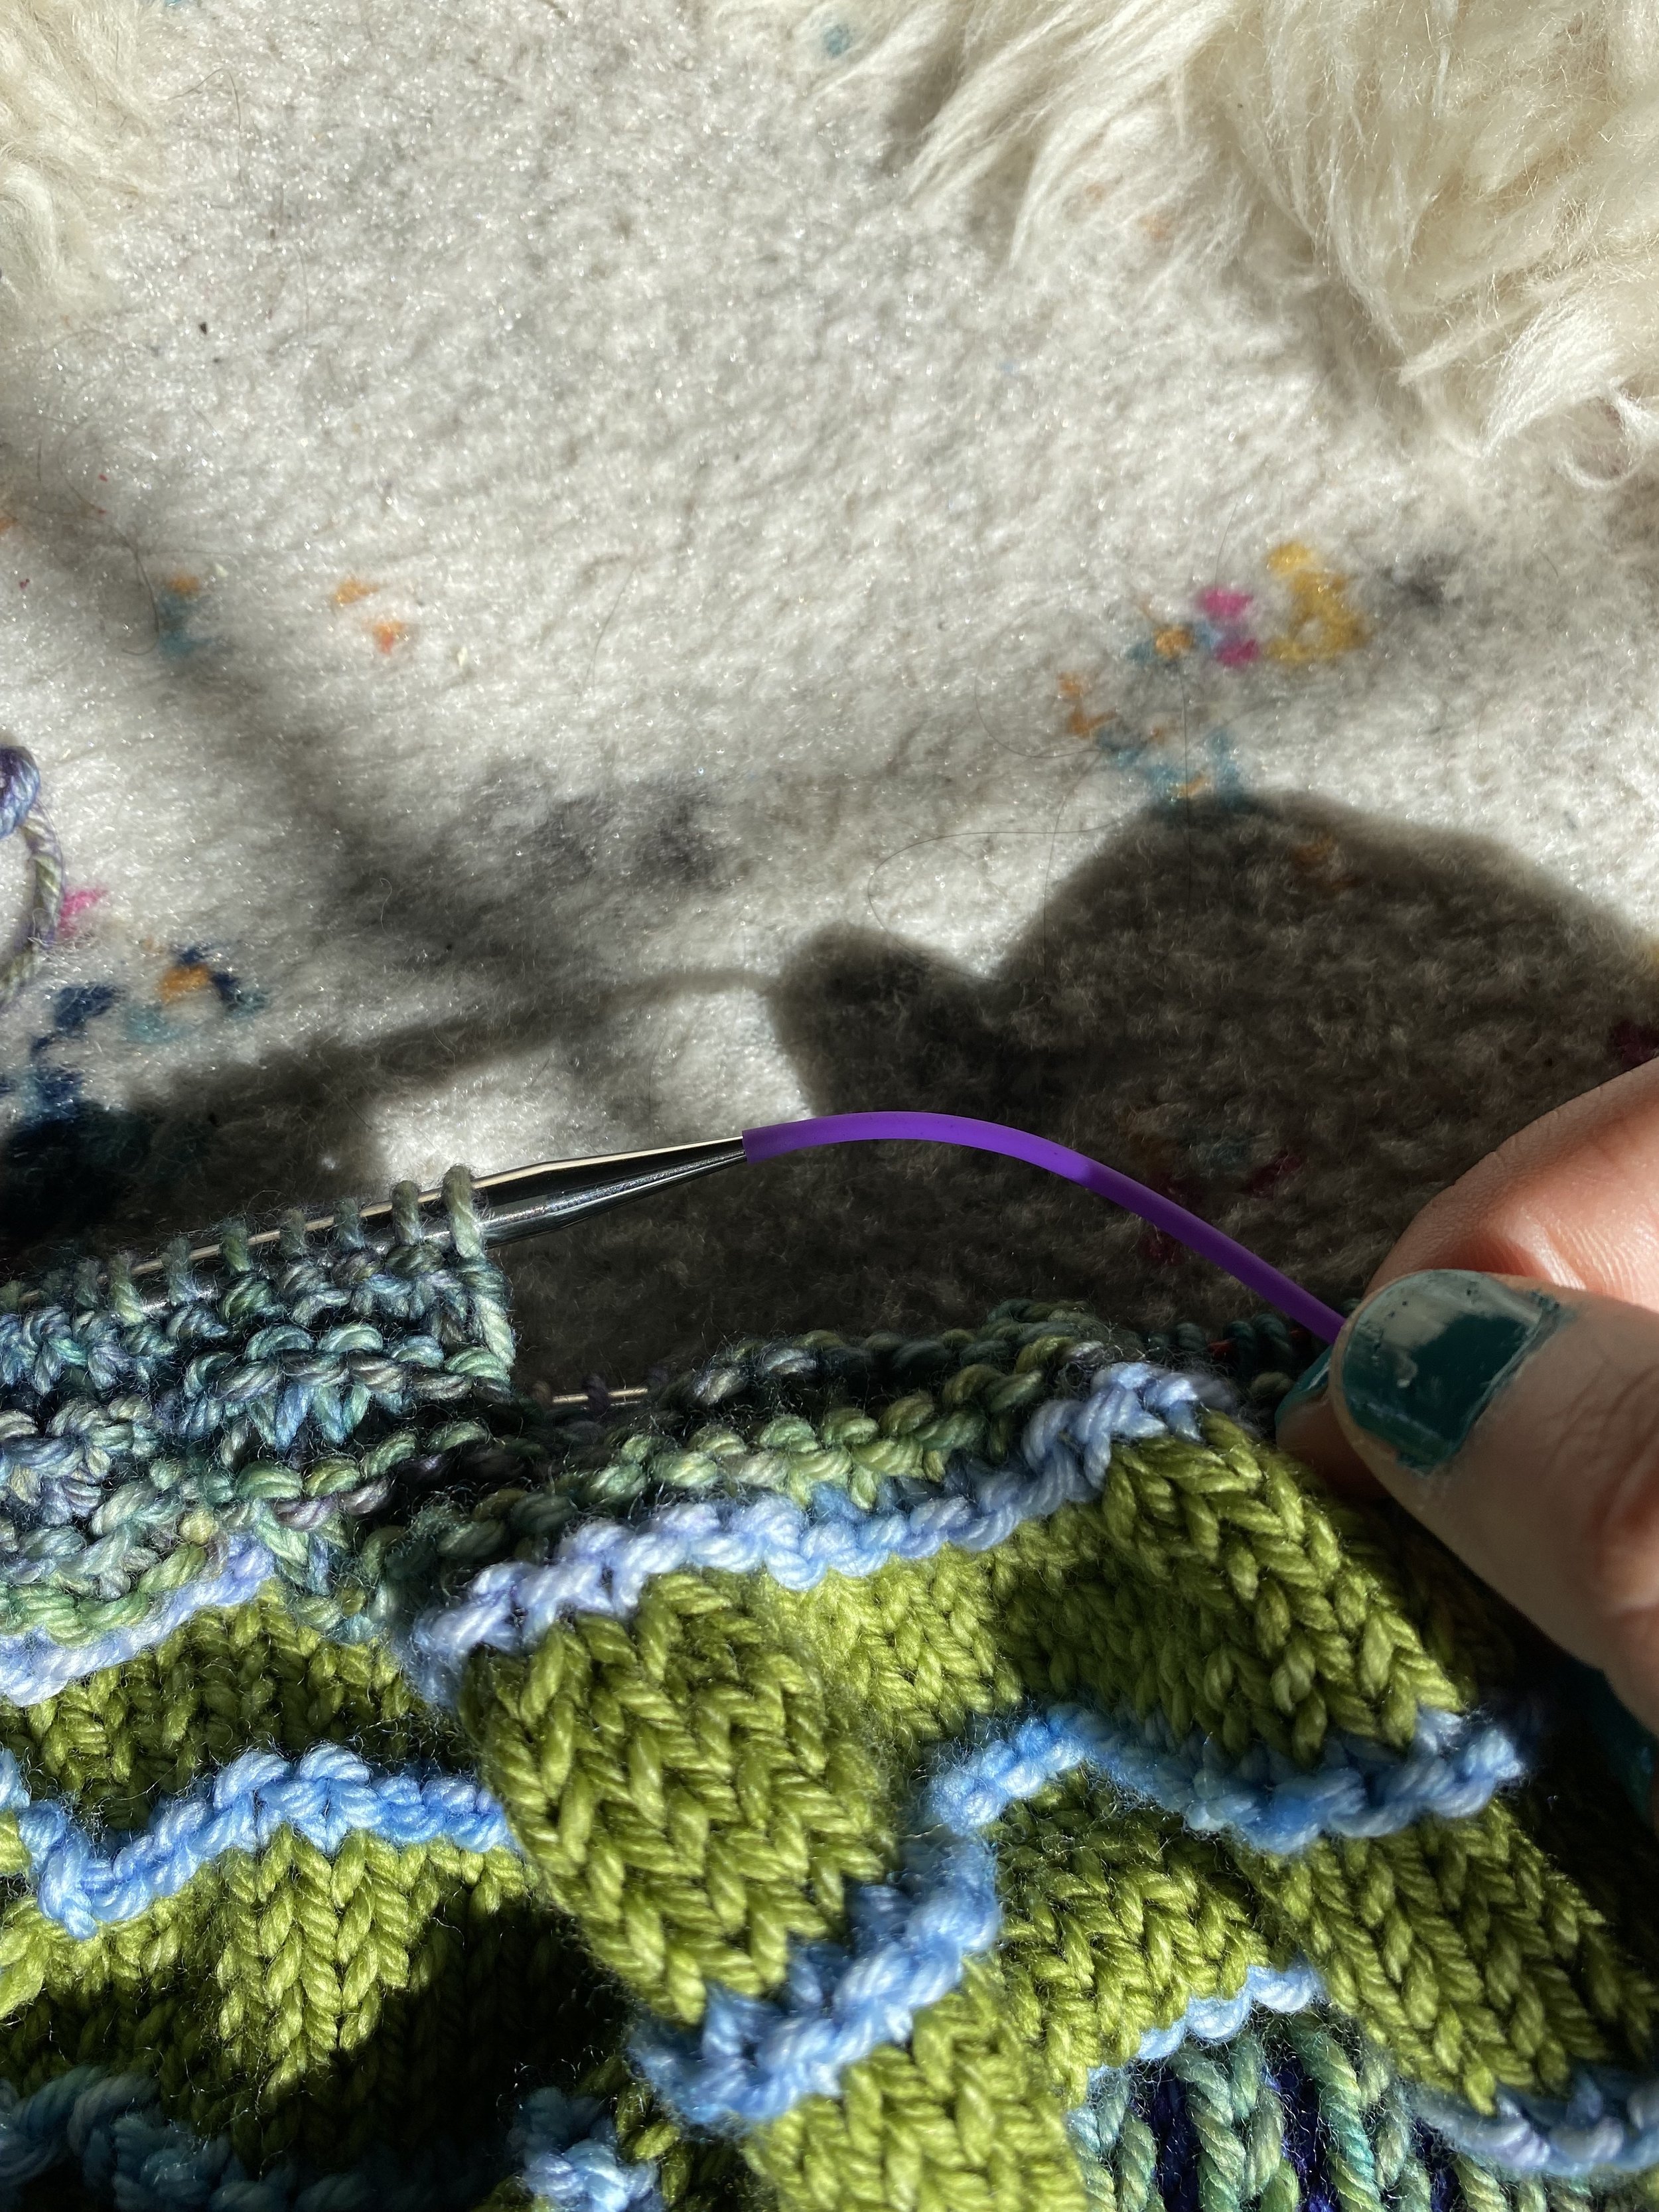
Attach the end of the cord to your knitting needle

Step Two:

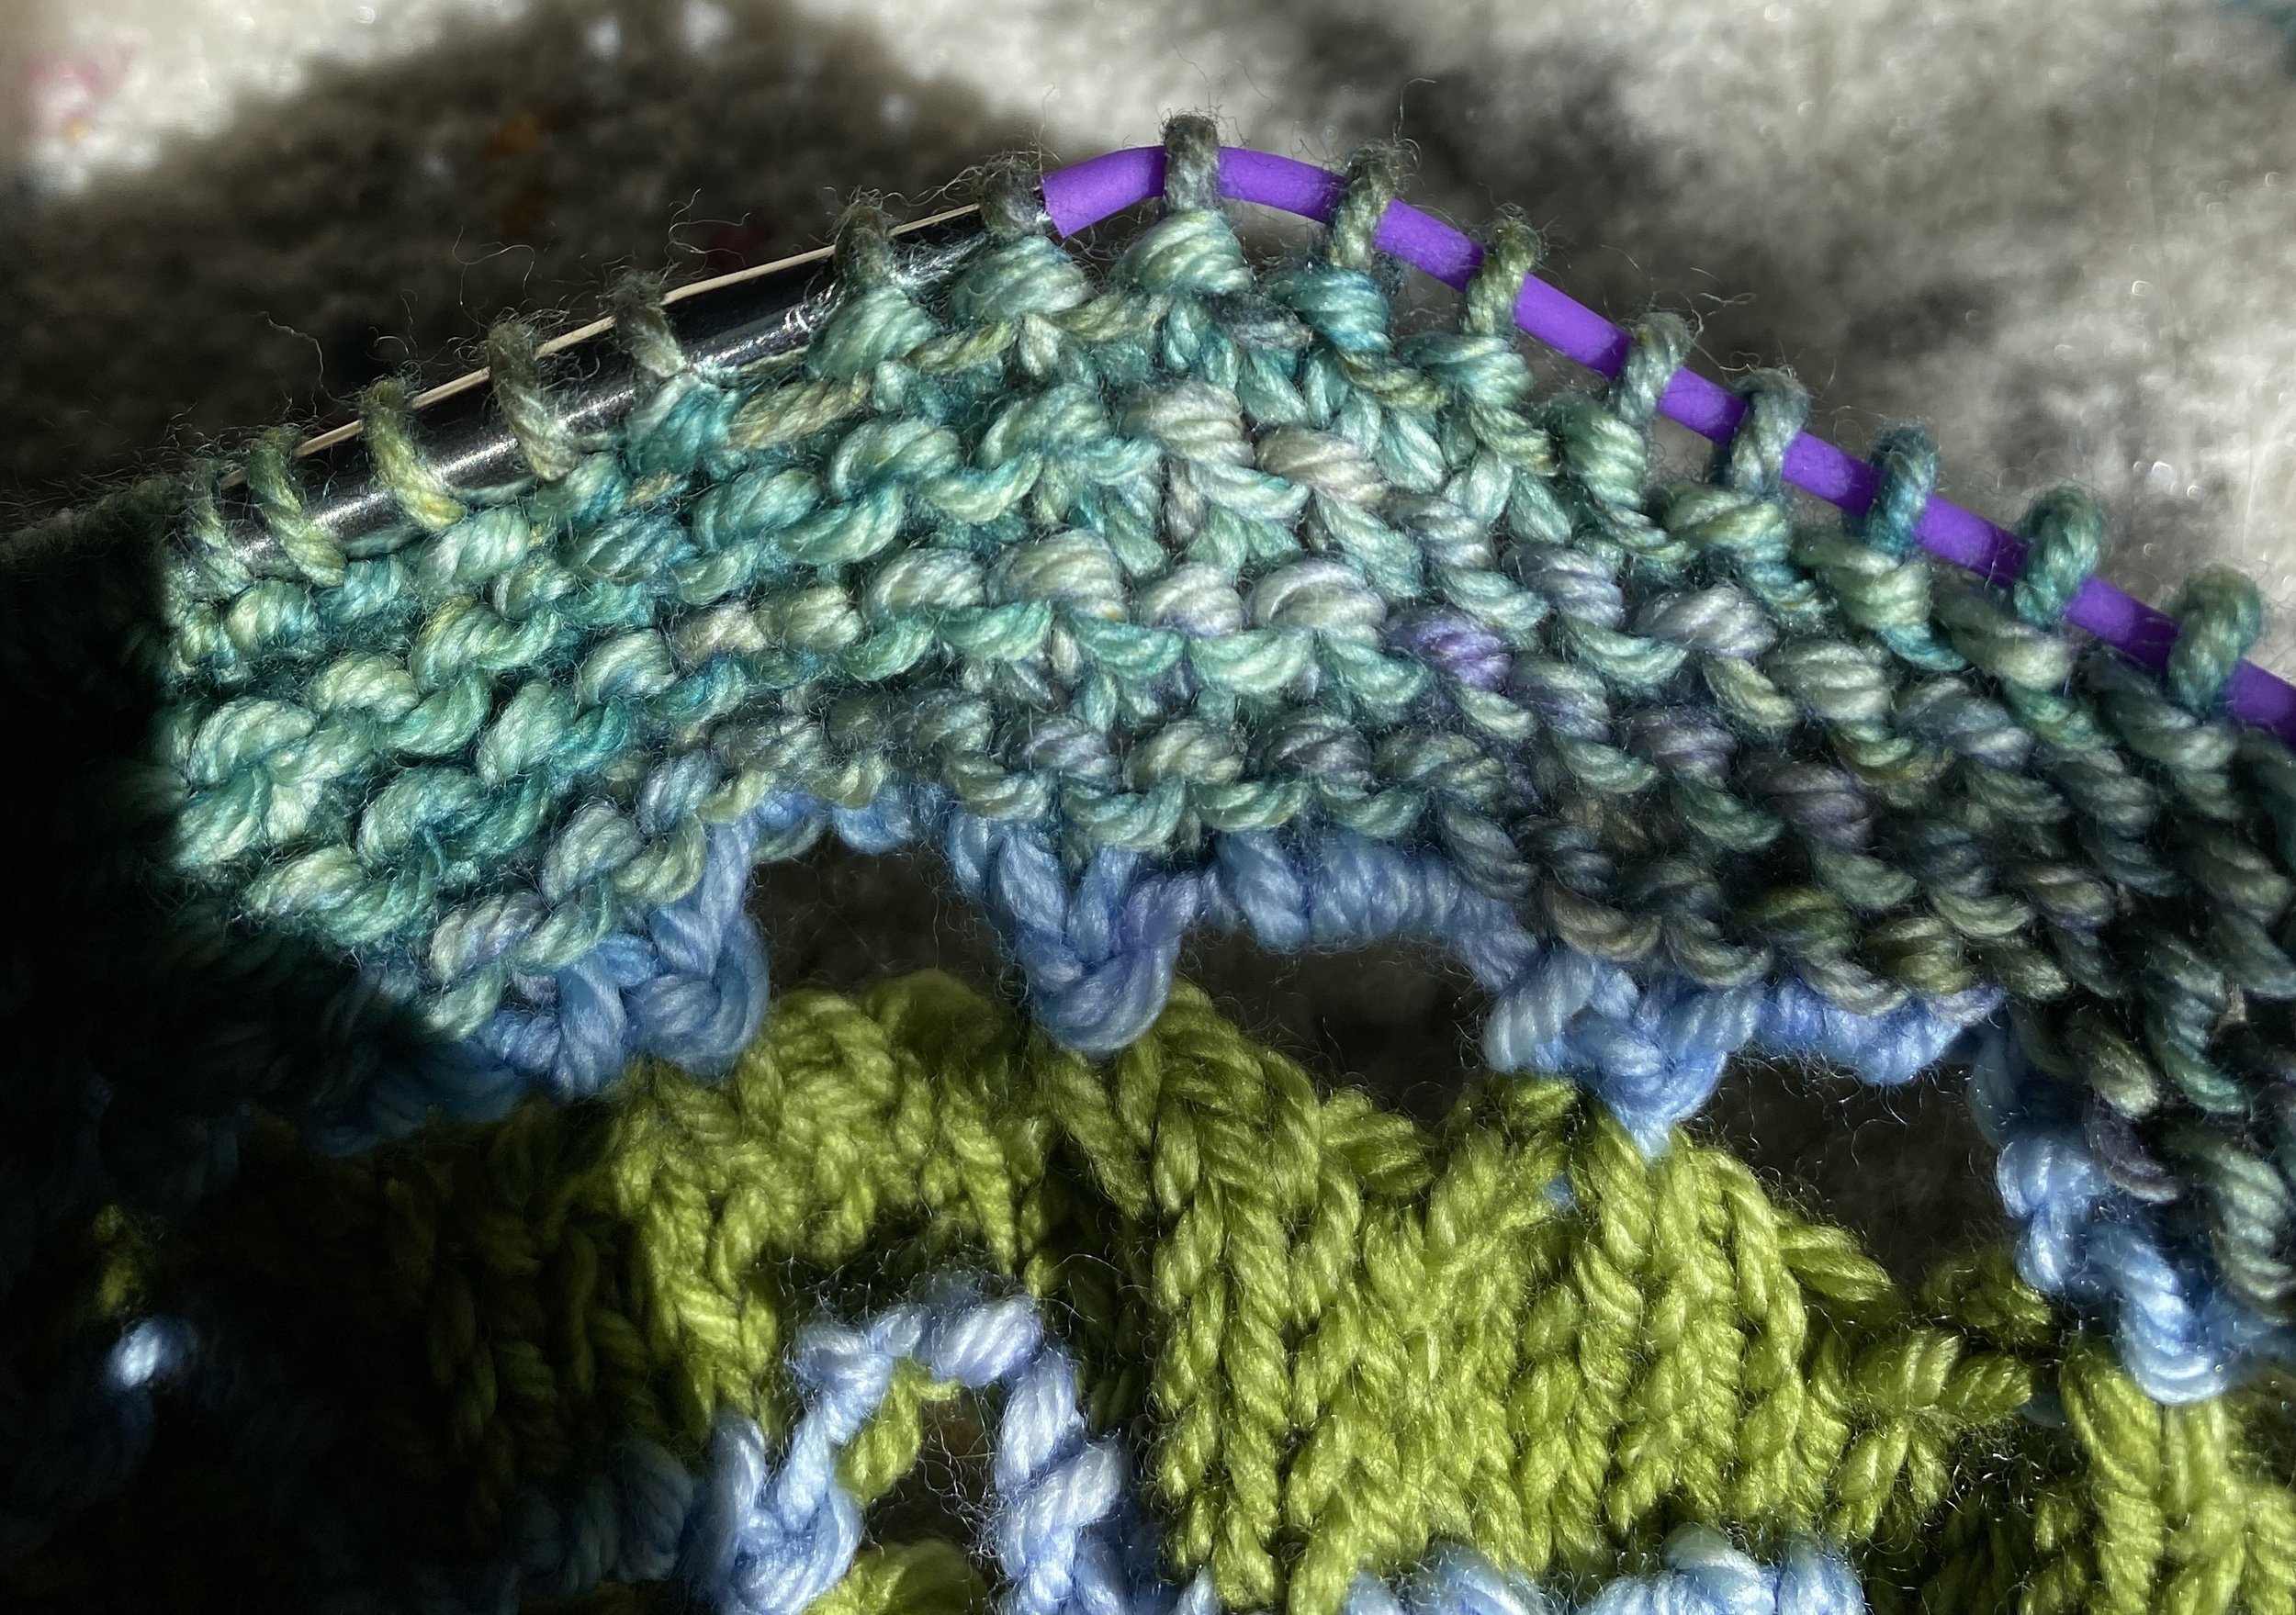
Carefully, slide the stitches from the needle to the cable.

Step Three:

Admire your project, or try on your work!


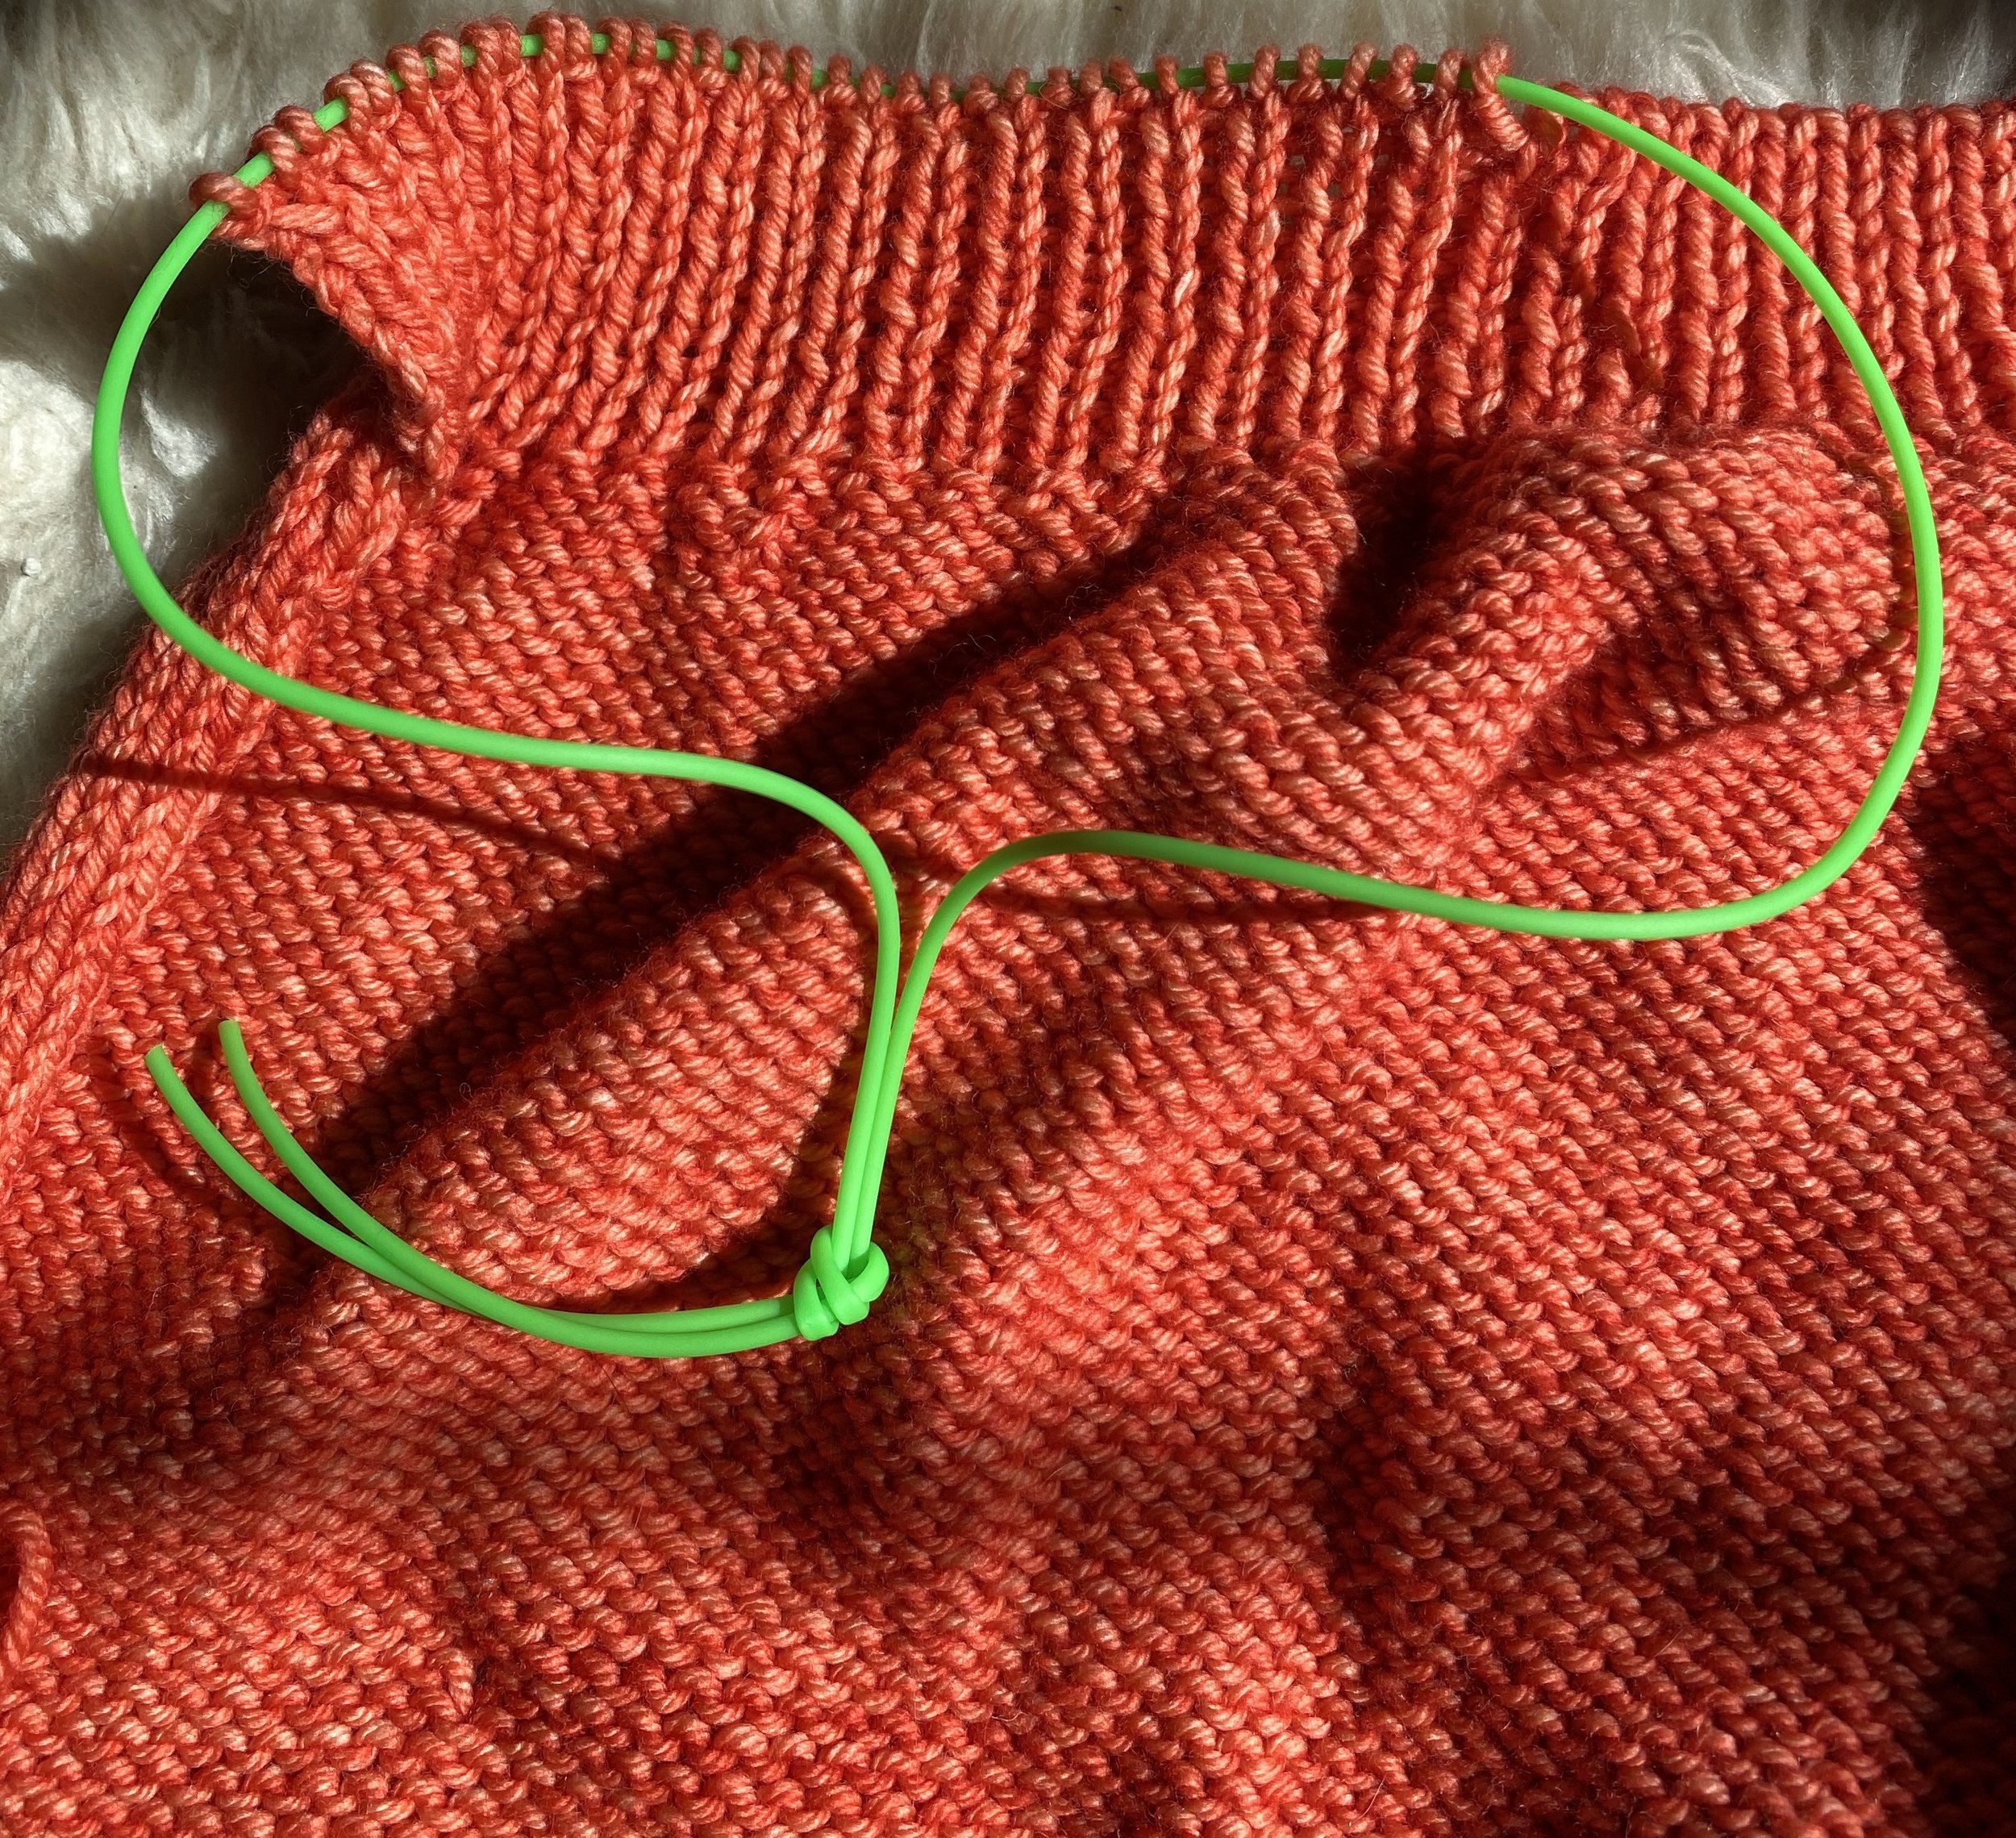
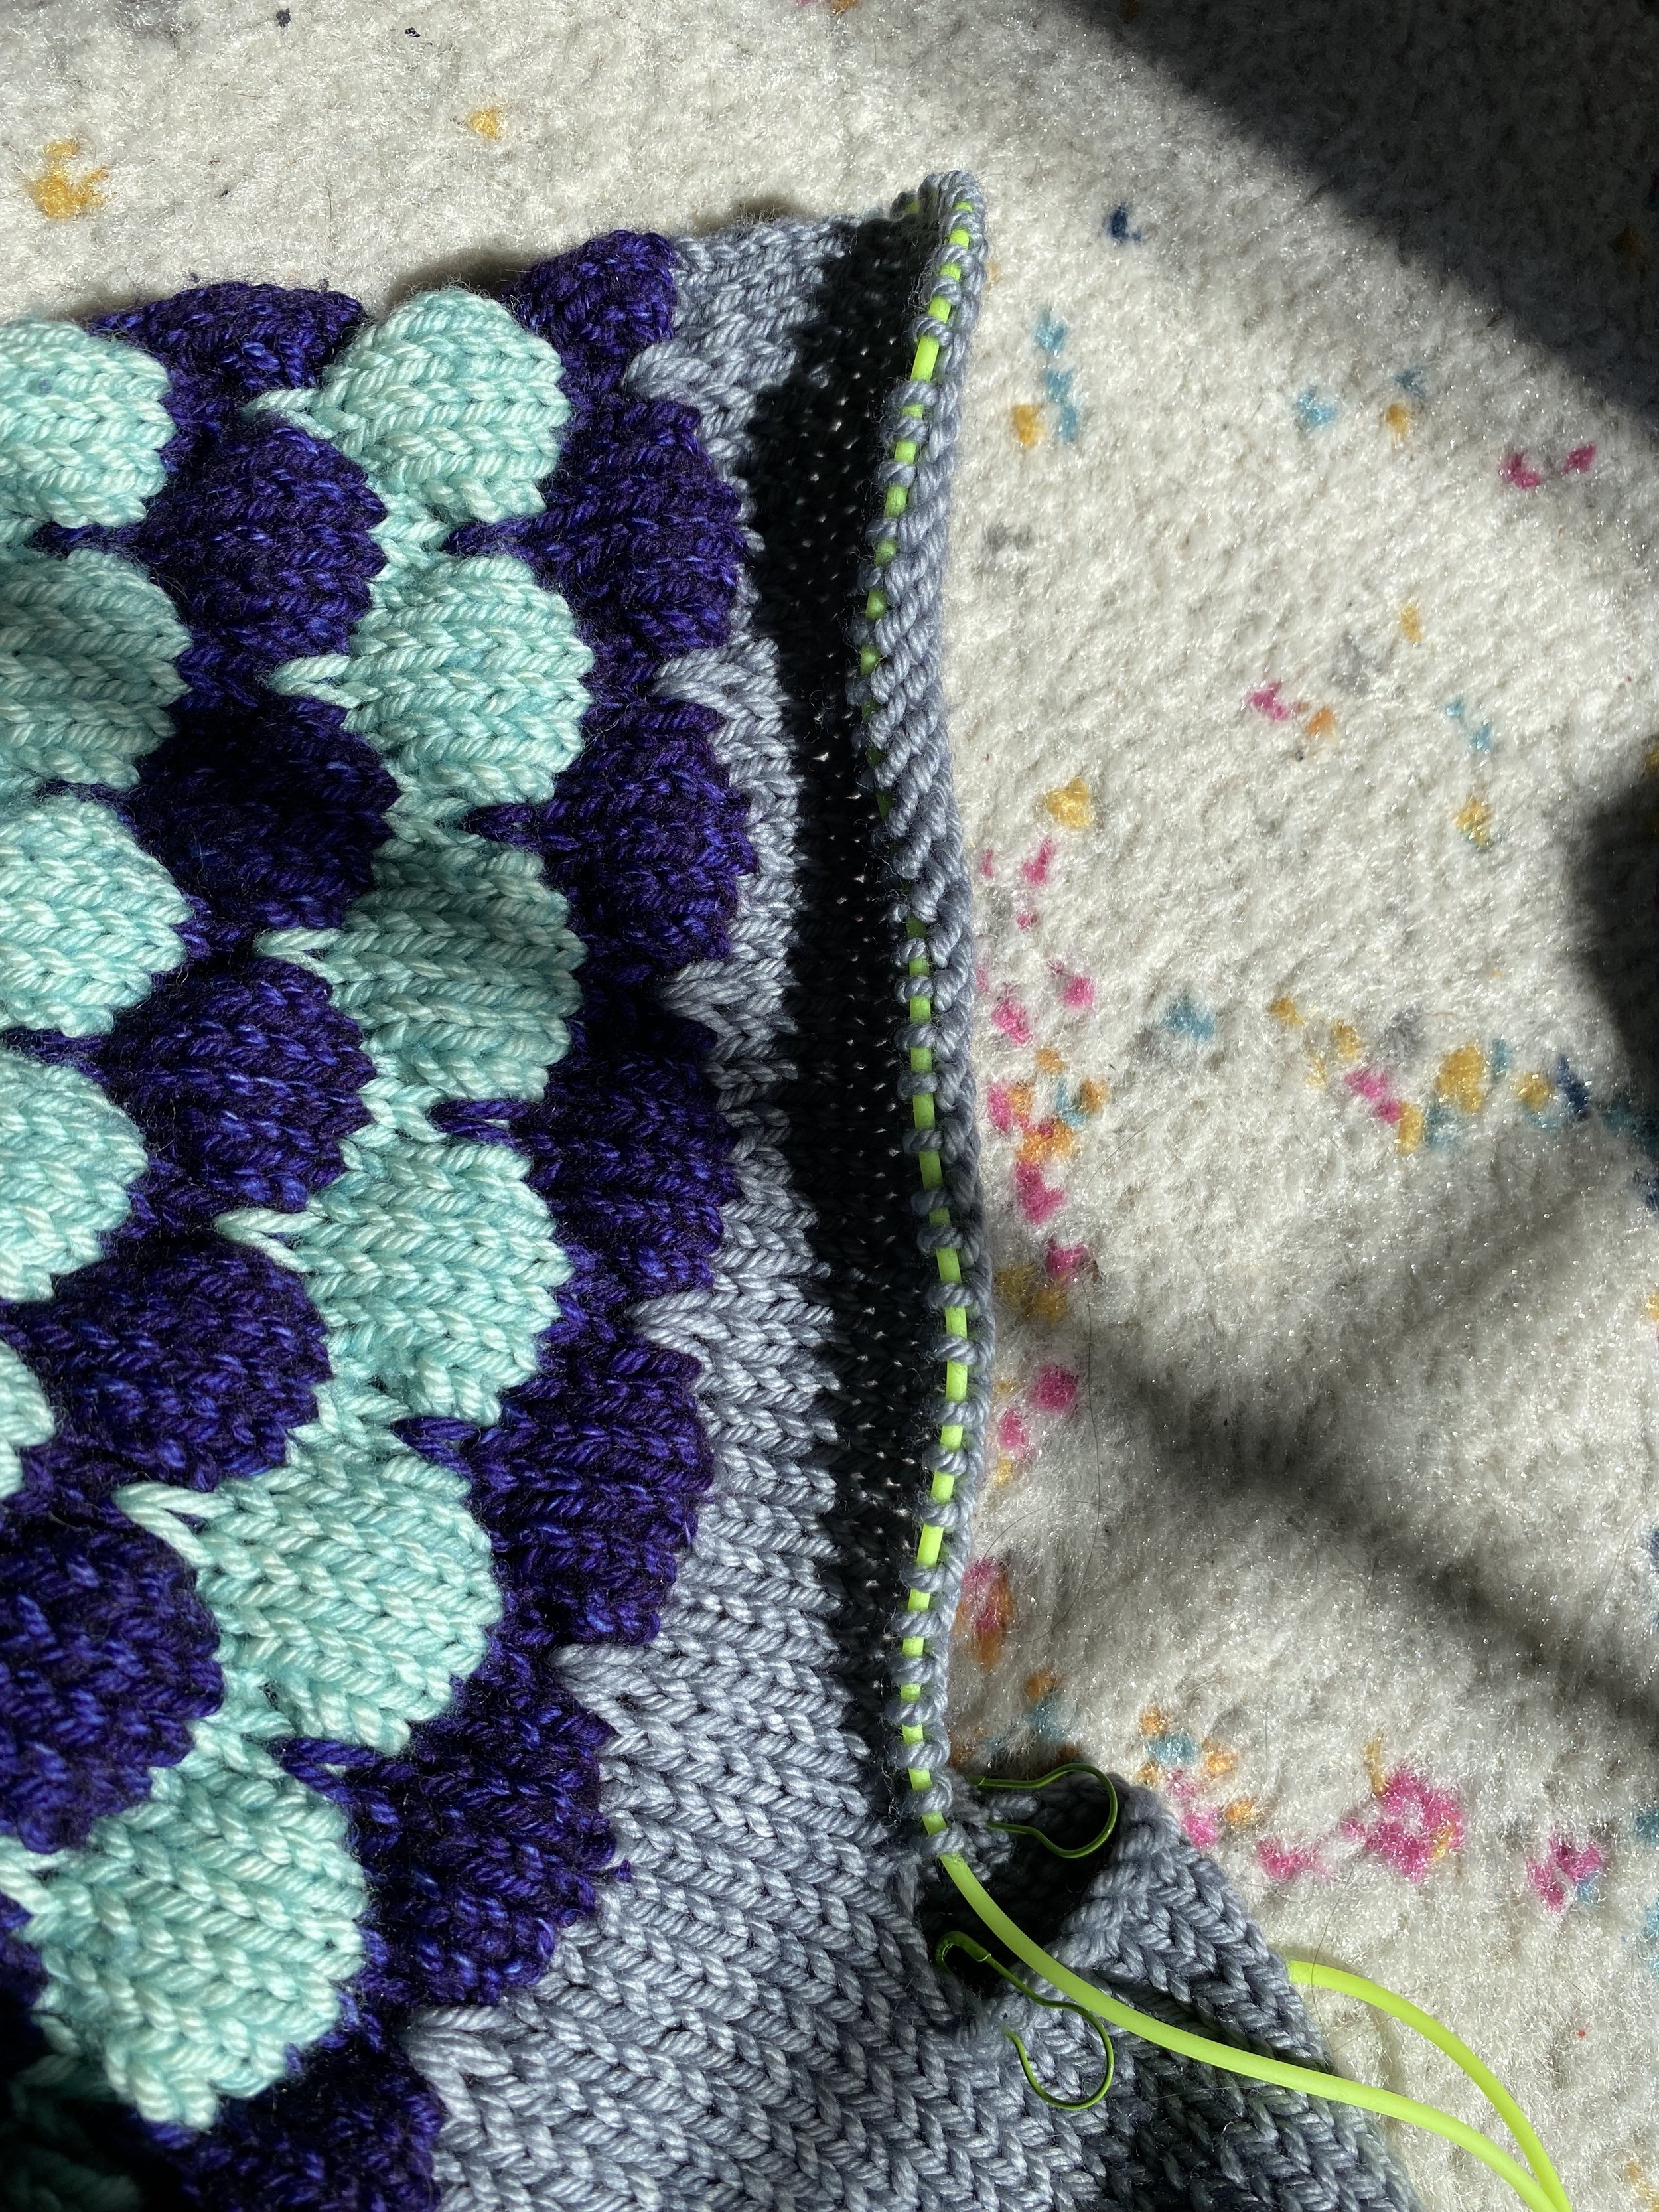
I said that I use them daily and it’s true! They are so easy to use. The smaller cords are perfect for holding stitches for the sleeves of sweaters. I’m currently using the two smaller cords to hold the stitches for when I join the front and back panels of my Weekender sweater.

The smaller green cord holding the stitches for the shoulder of my Weekender.

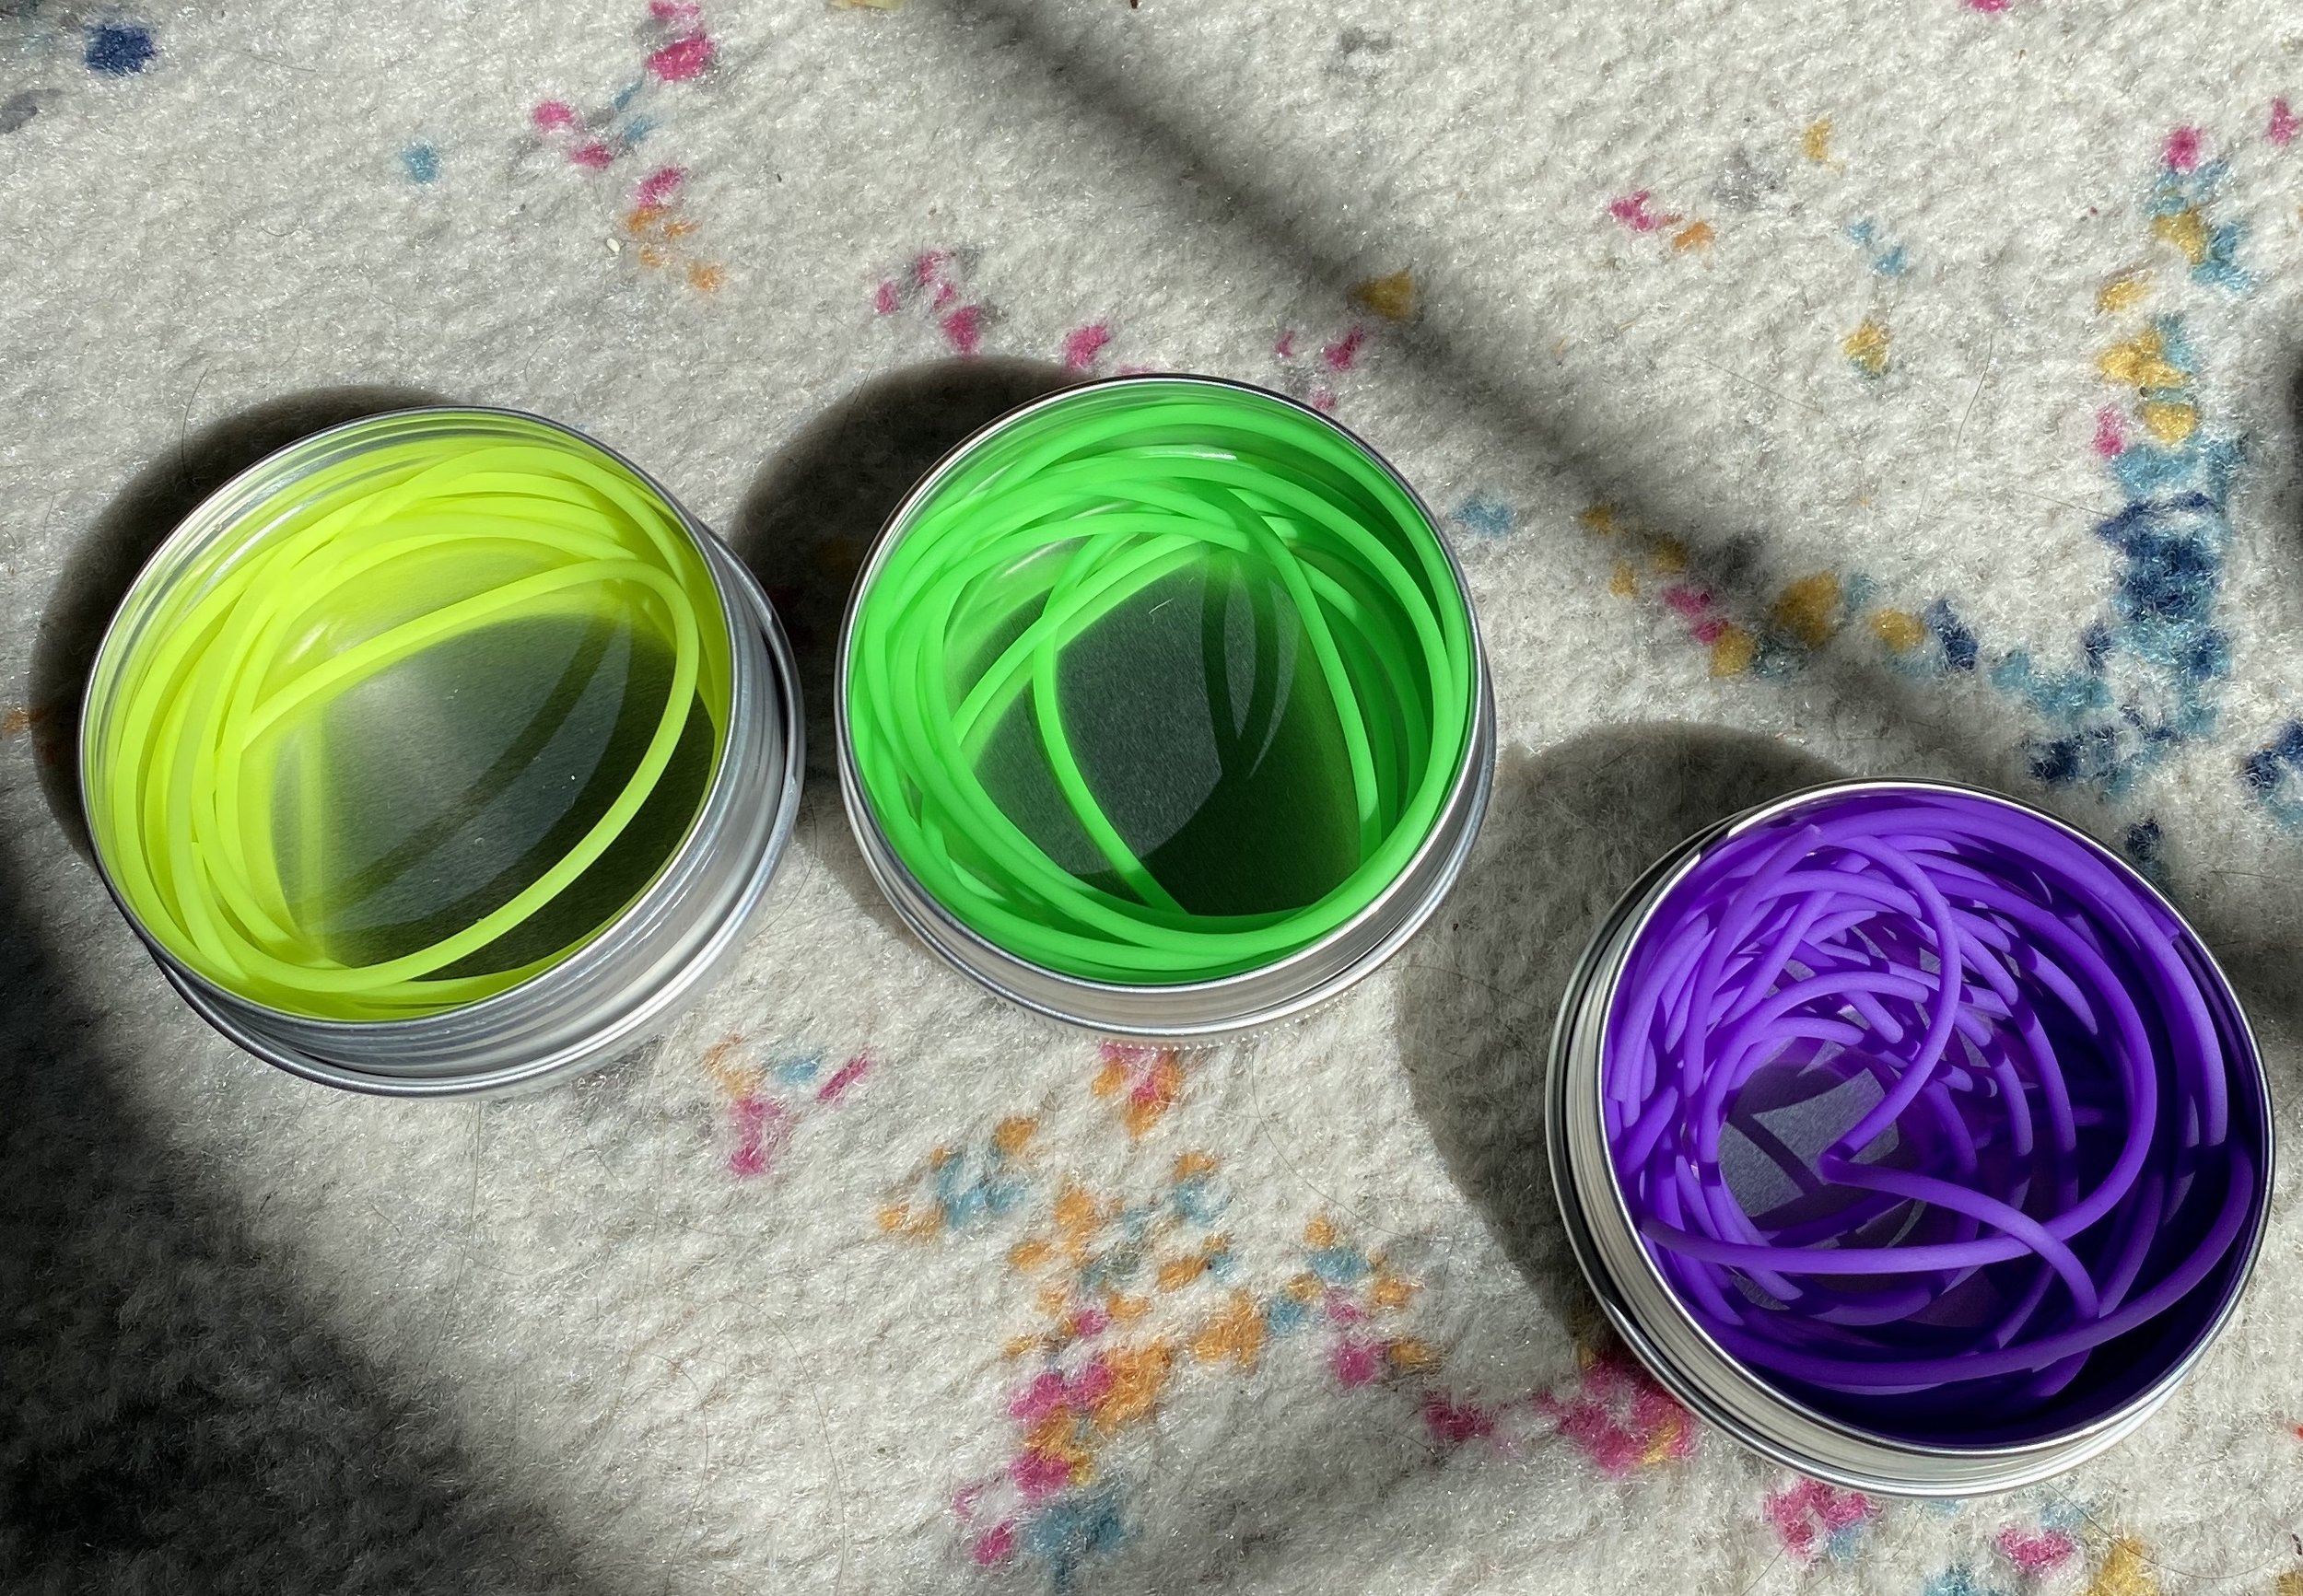
I currently own three sets of the cords. They come in a beautiful assortment of colors. I currently have the Green, Violet, and Yellow cords. I definitely think they’re worth picking up a set. They’ll help mitigate some of that frustration trying on a sweater, or holding stitches or SOMETHING else. 

The three sets I own. Yellow, Green, and Violet.

Another example of the cords holding the stitches for the sleeve of my Bubble Sweater.

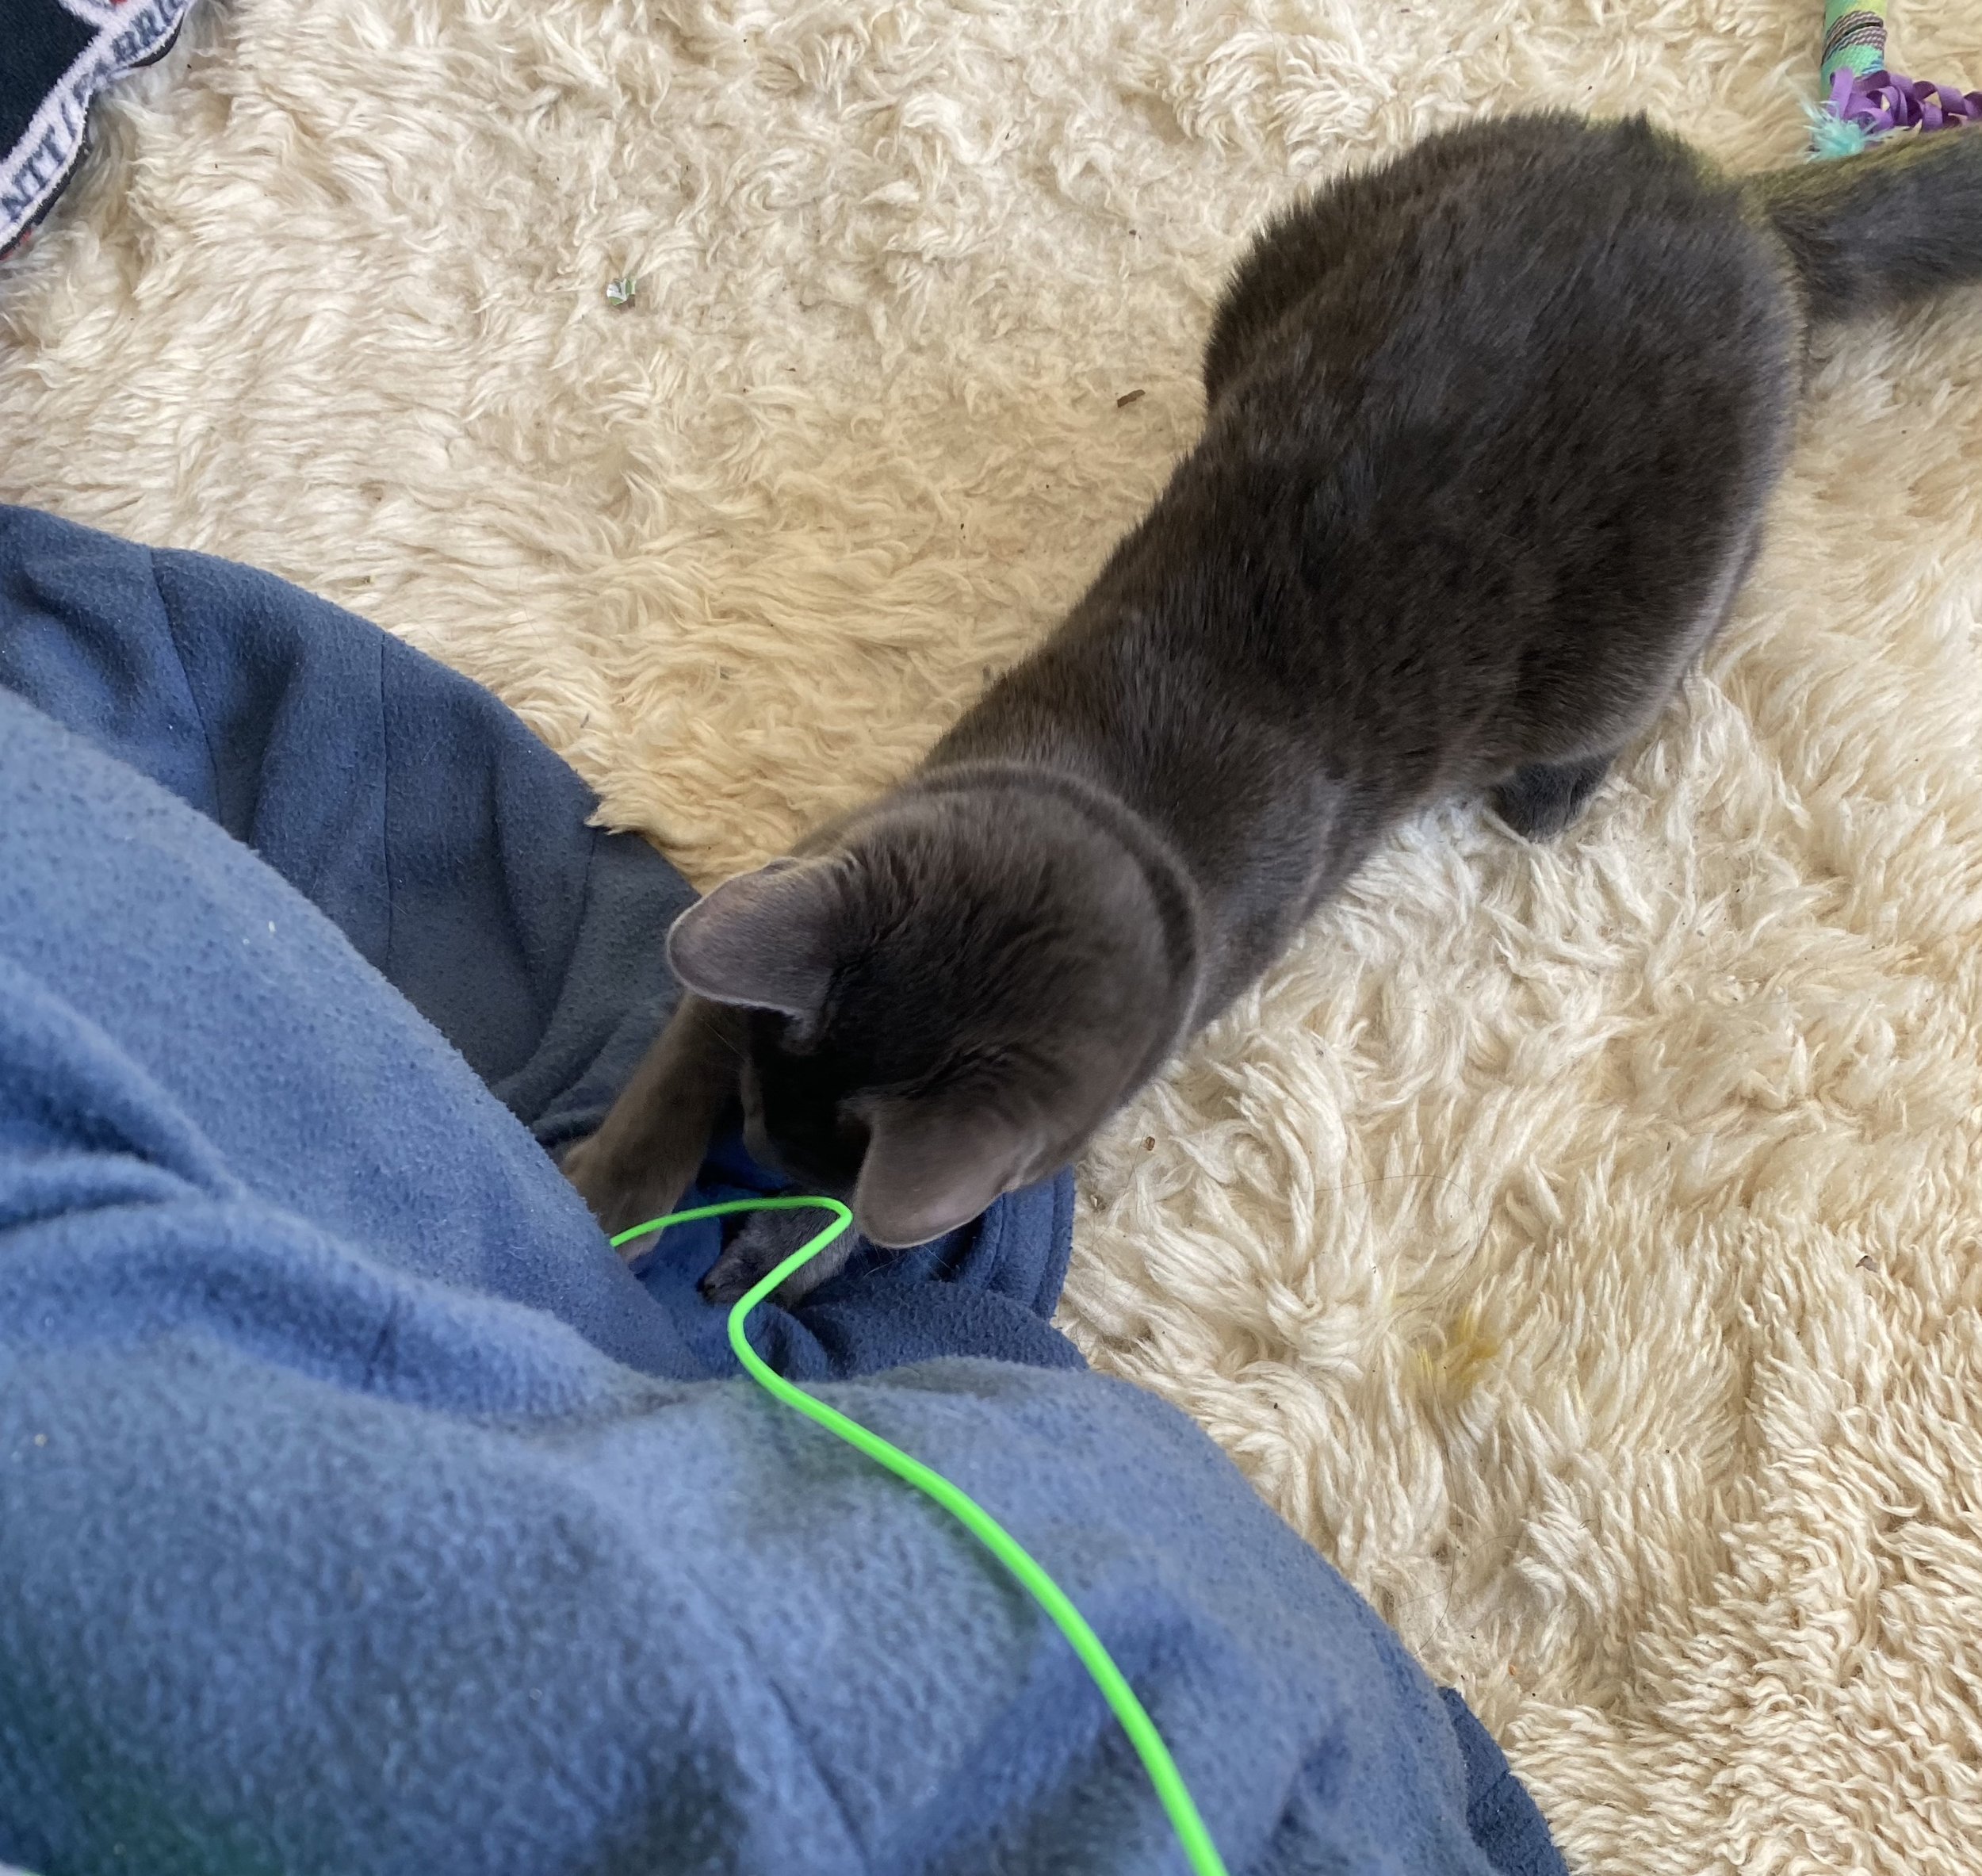
The biggest downside, they are tempting targets for cats! Or perhaps a bonus?

I hope this helps convince you that these cords are worth it! Pick your favorite color (or three) here! Happy knitting!
Toe-Up Socks!

Guest UserComment
My finished pair of toe-up socks, not blocked and ends not woven in yet…

My finished pair of toe-up socks, not blocked and ends not woven in yet…

I am new to knitting socks. I only started knitting them this past January. So back in February, Ana offered a Crash Course on Toe-Up Socks through Vogue Knitting Live. I decided to take it, and I have fallen in love with knitting toe-up socks. Since taking her class, I decided to knit a pair using Crazy Zauberball in Indisch Rosa.

The pattern I used to knit my socks was provided by Ana with the class she taught. I thought this would work perfectly with my self striping yarn. I’ll let you all be the judge of that! The one thing I really contemplated was how close I wanted the pair to match. With luck, they turned out pretty close. It wouldn’t be a hand knit by me without a mistake! I noticed that I was short a stitch when I got to the ribbing of my second sock. To fix it, I just added an increase in that round to even it out so the ribbing would work out. I had knit the second sock in a day, and didn’t have the heart to rip it out and restart it. In all, this pair of socks took me about 4 days to knit.

The start of my toe up socks after I just finished the toe shaping.

The start of my toe up socks after I just finished the toe shaping.

The other slight issue with my socks is that there’s a hole right where the heel meets the rest of the sock. When I weave in my ends, I’ll take some of the scrap yarn and fill in the hole.

The main benefit of knitting toe-up: as soon as the heel is finished, the sock can end whenever you like! I have found that 6 inches after the heel is the perfect height for me. I personally prefer magic loop over double pointed needles for socks, but toe-up can accommodate both methods!

Want to learn how to knit socks? Join Ana’s Toe Up workshop next month!

The second sock after I had finished the short row heel.

The second sock after I had finished the short row heel.

My practice sock from Ana’s Vogue Knitting Live Toe Up Course back in February.

My practice sock from Ana’s Vogue Knitting Live Toe Up Course back in February.

The Shift Cowl!

knitting patterns, knitting, knitting projectsGuest User1 Comment
My finished Shift Cowl being blocked.

My finished Shift Cowl being blocked.

I will admit, I am always hesitant to jump onto the latest trend. I didn’t even know that it originally was published in 2018. It wasn’t until Ana started selling Spincycle yarn in kits for the Shift Cowl that it came into my radar. I finally caved late November of last year and bought a custom kit of Spin Cycle Dyed in the Wool in Leith, The Family Jewels, and The Meadows. I didn’t get the chance to start the cowl until the beginning of February. I remember being so resistant to wanting to like this pattern. In the end, I LOVED knitting this cowl. I will admit, it took a few rounds to get into the groove of the pattern, but from then on, it was smooth sailing! 

The initial stages of the Shift Cowl.

The initial stages of the Shift Cowl.

This pattern uses mosaic knitting to achieve the pops of color. Instead of holding both the two colors at the same time, only one color is worked at a time and uses slipped stitches to show the second color. If you are new to color work, I highly recommend this cowl. It is a great introduction to mosaic knitting as the floats are only two stitches maximum. The entire project is knit flat, then uses mattress stitch to seam together. 

Here’s the cowl a few rows away from the bind-off.

Here’s the cowl a few rows away from the bind-off.

I do have to say that it wouldn’t be a project completed by me without a few mistakes. The first mistake I made was forgetting an increase on one of the sides. Luckily, it was fairly close to the beginning, so I just ripped it out and started again. The other slightly significant mistake I made was with one of the increases. The pattern calls for both make one right (M1R) and make one left (M1L). It wasn’t until about halfway through the pattern that I realized i was incorrectly doing M1R. I certainly wasn’t going to rip out all my progress, so I kept doing it incorrectly, but made a mental note for upcoming projects. The only other thing that gave me issues was figuring out how to seam it together with mattress stitch. Luckily Ana offers online lessons and was able to give me the help that was necessary to complete the seaming.

Definitely not a perfect example of mattress stitch. Also note the floats in the knitting.

Definitely not a perfect example of mattress stitch. Also note the floats in the knitting.

This was such an enjoyable project, that I already have some more Spincycle Dyed in the Wool for another Shift cowl!

Next Shift Cowl using Spincycle Dyed in the Wool: Absinthe, Cataclysm, and Ruination.

Next Shift Cowl using Spincycle Dyed in the Wool: Absinthe, Cataclysm, and Ruination.