Circle of Stitches

Fine Yarns & Witchy Goods for Fiber Witches

The Knitting Barber Cords: Why I was wrong and why they’re awesome (and how to use them)

Circle of Stitches1 Comment

I first heard about The Knitting Barber Cords through the shop newsletter. My immediate thoughts were:

What in the world are these?

What are they used for?

These are ridiculous, and silly!

Then I watched the episode of With Love, From Salem (on a side note, you should absolutely watch, the episodes are short, and Jacob and Ana are clearly having too much fun), where Ana did a demonstration of how to use the cords, and it honestly didn’t help my judgment of them. 

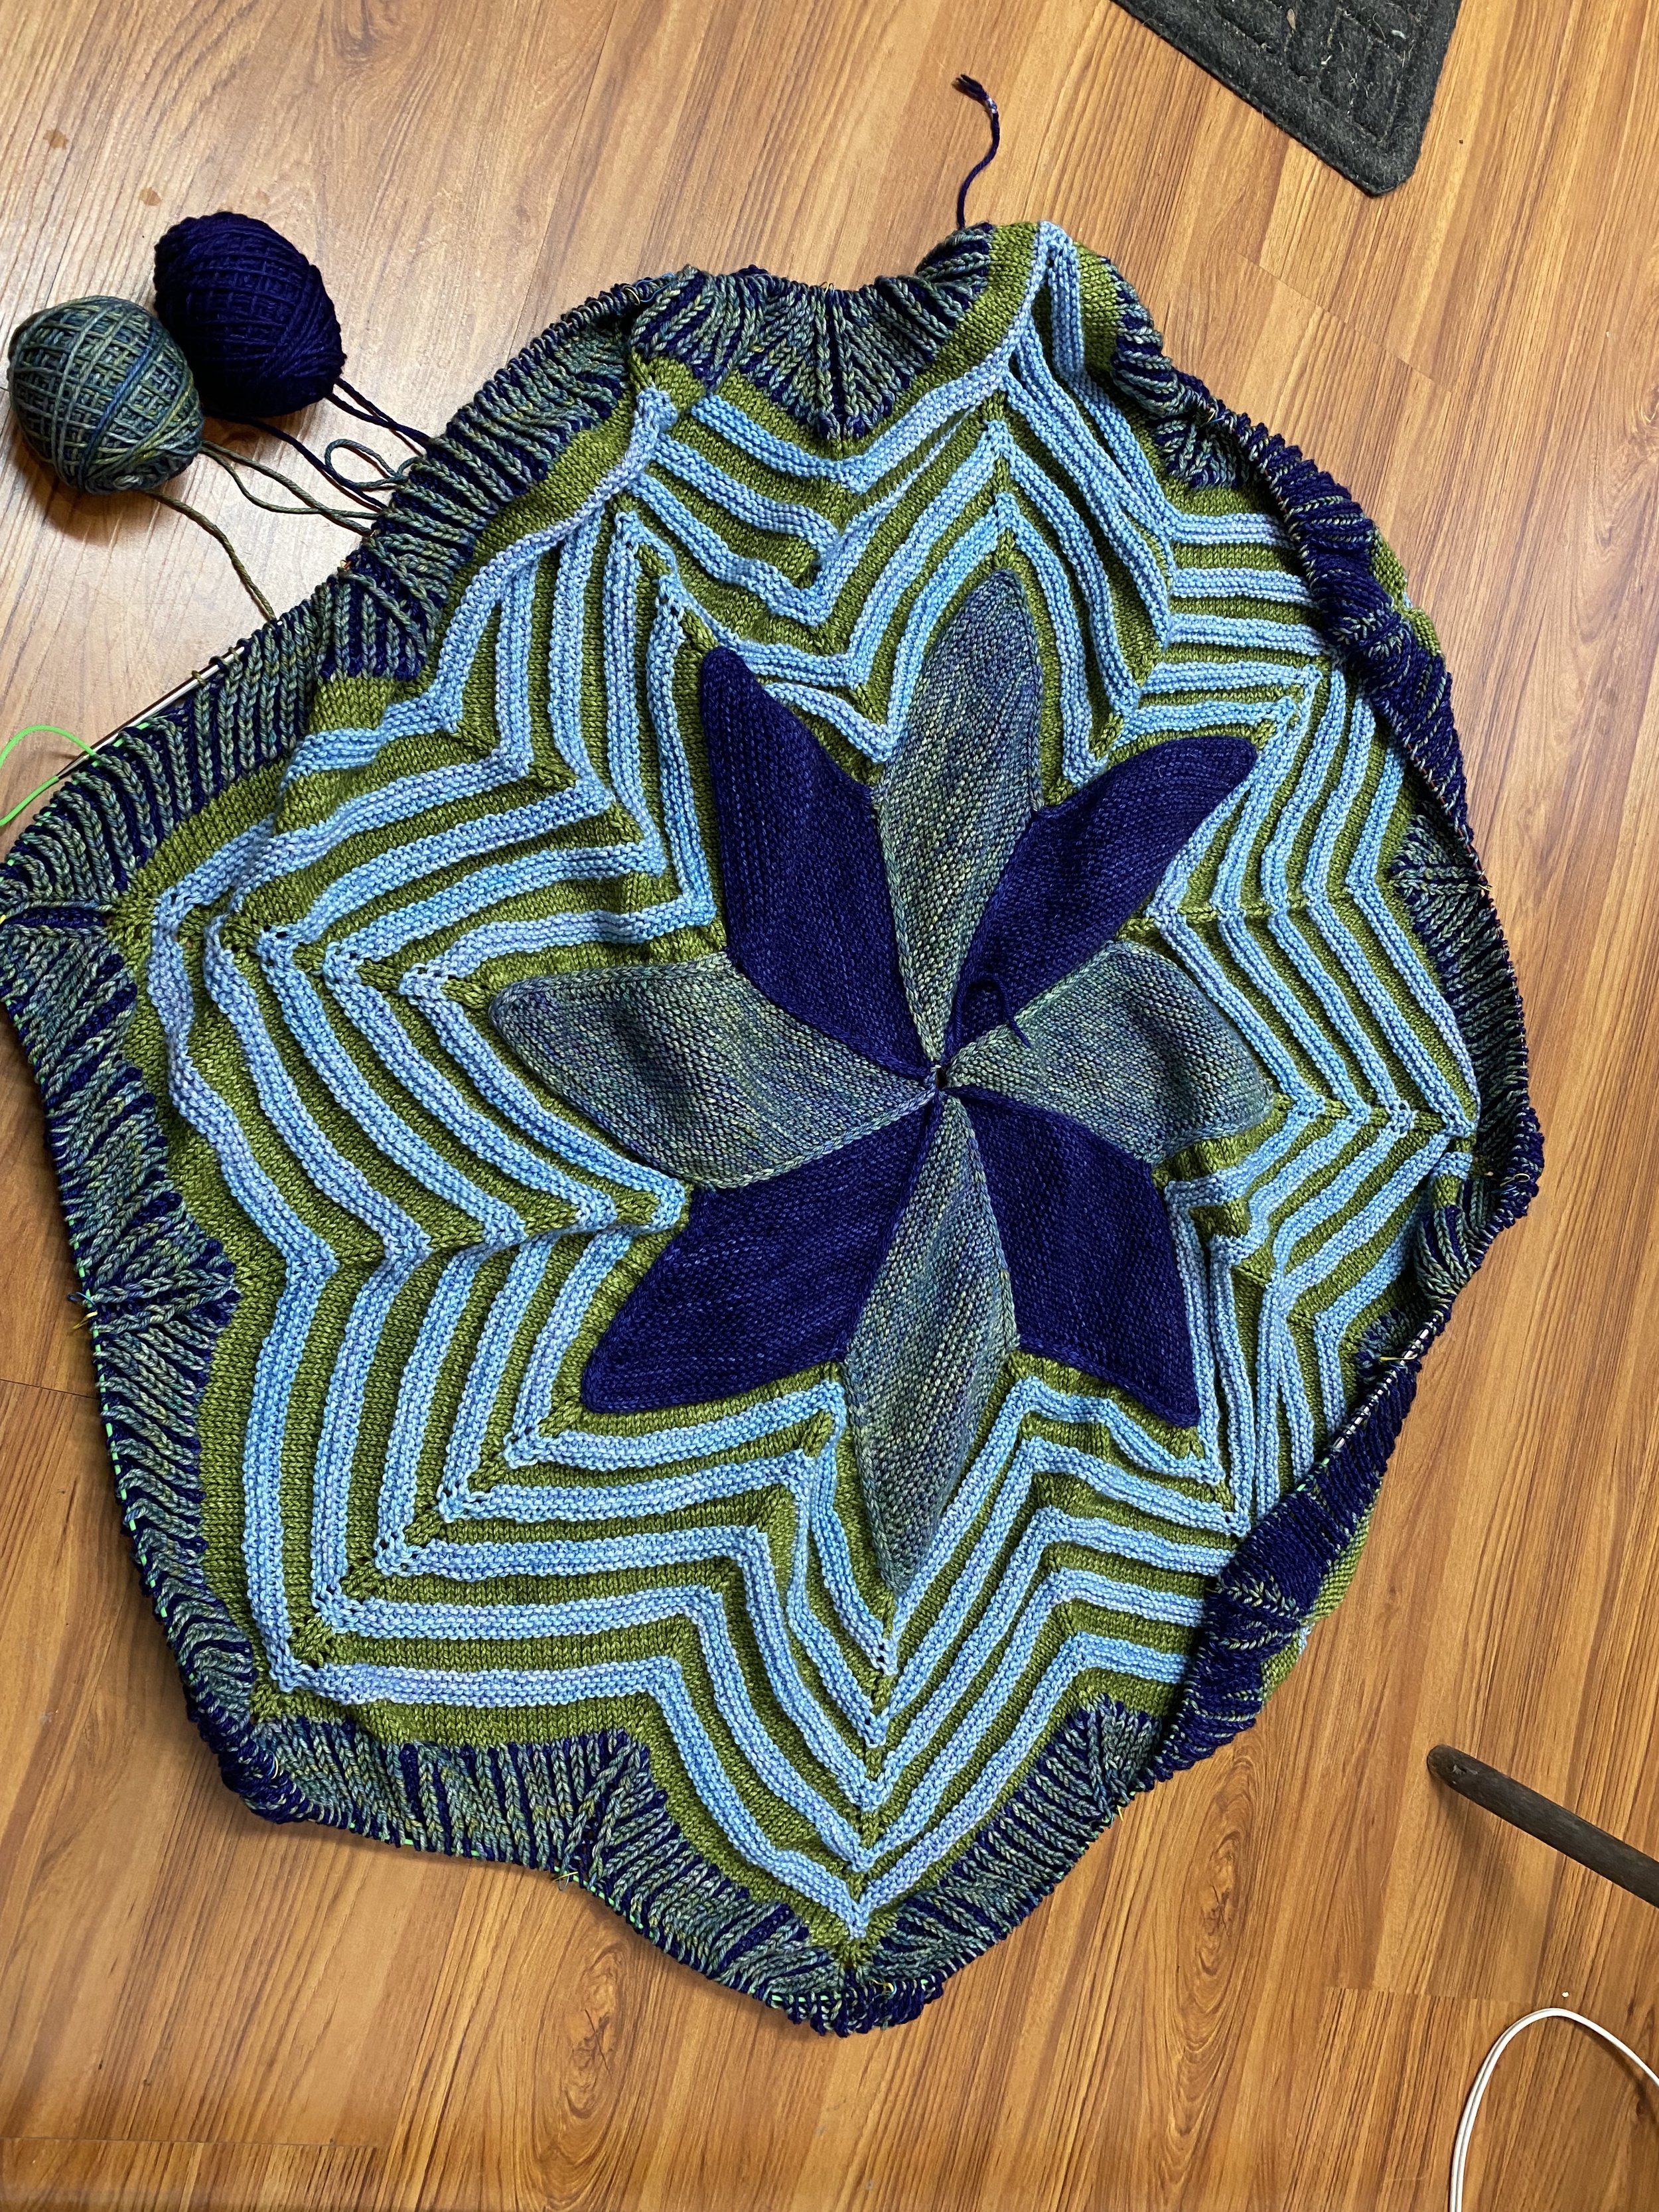
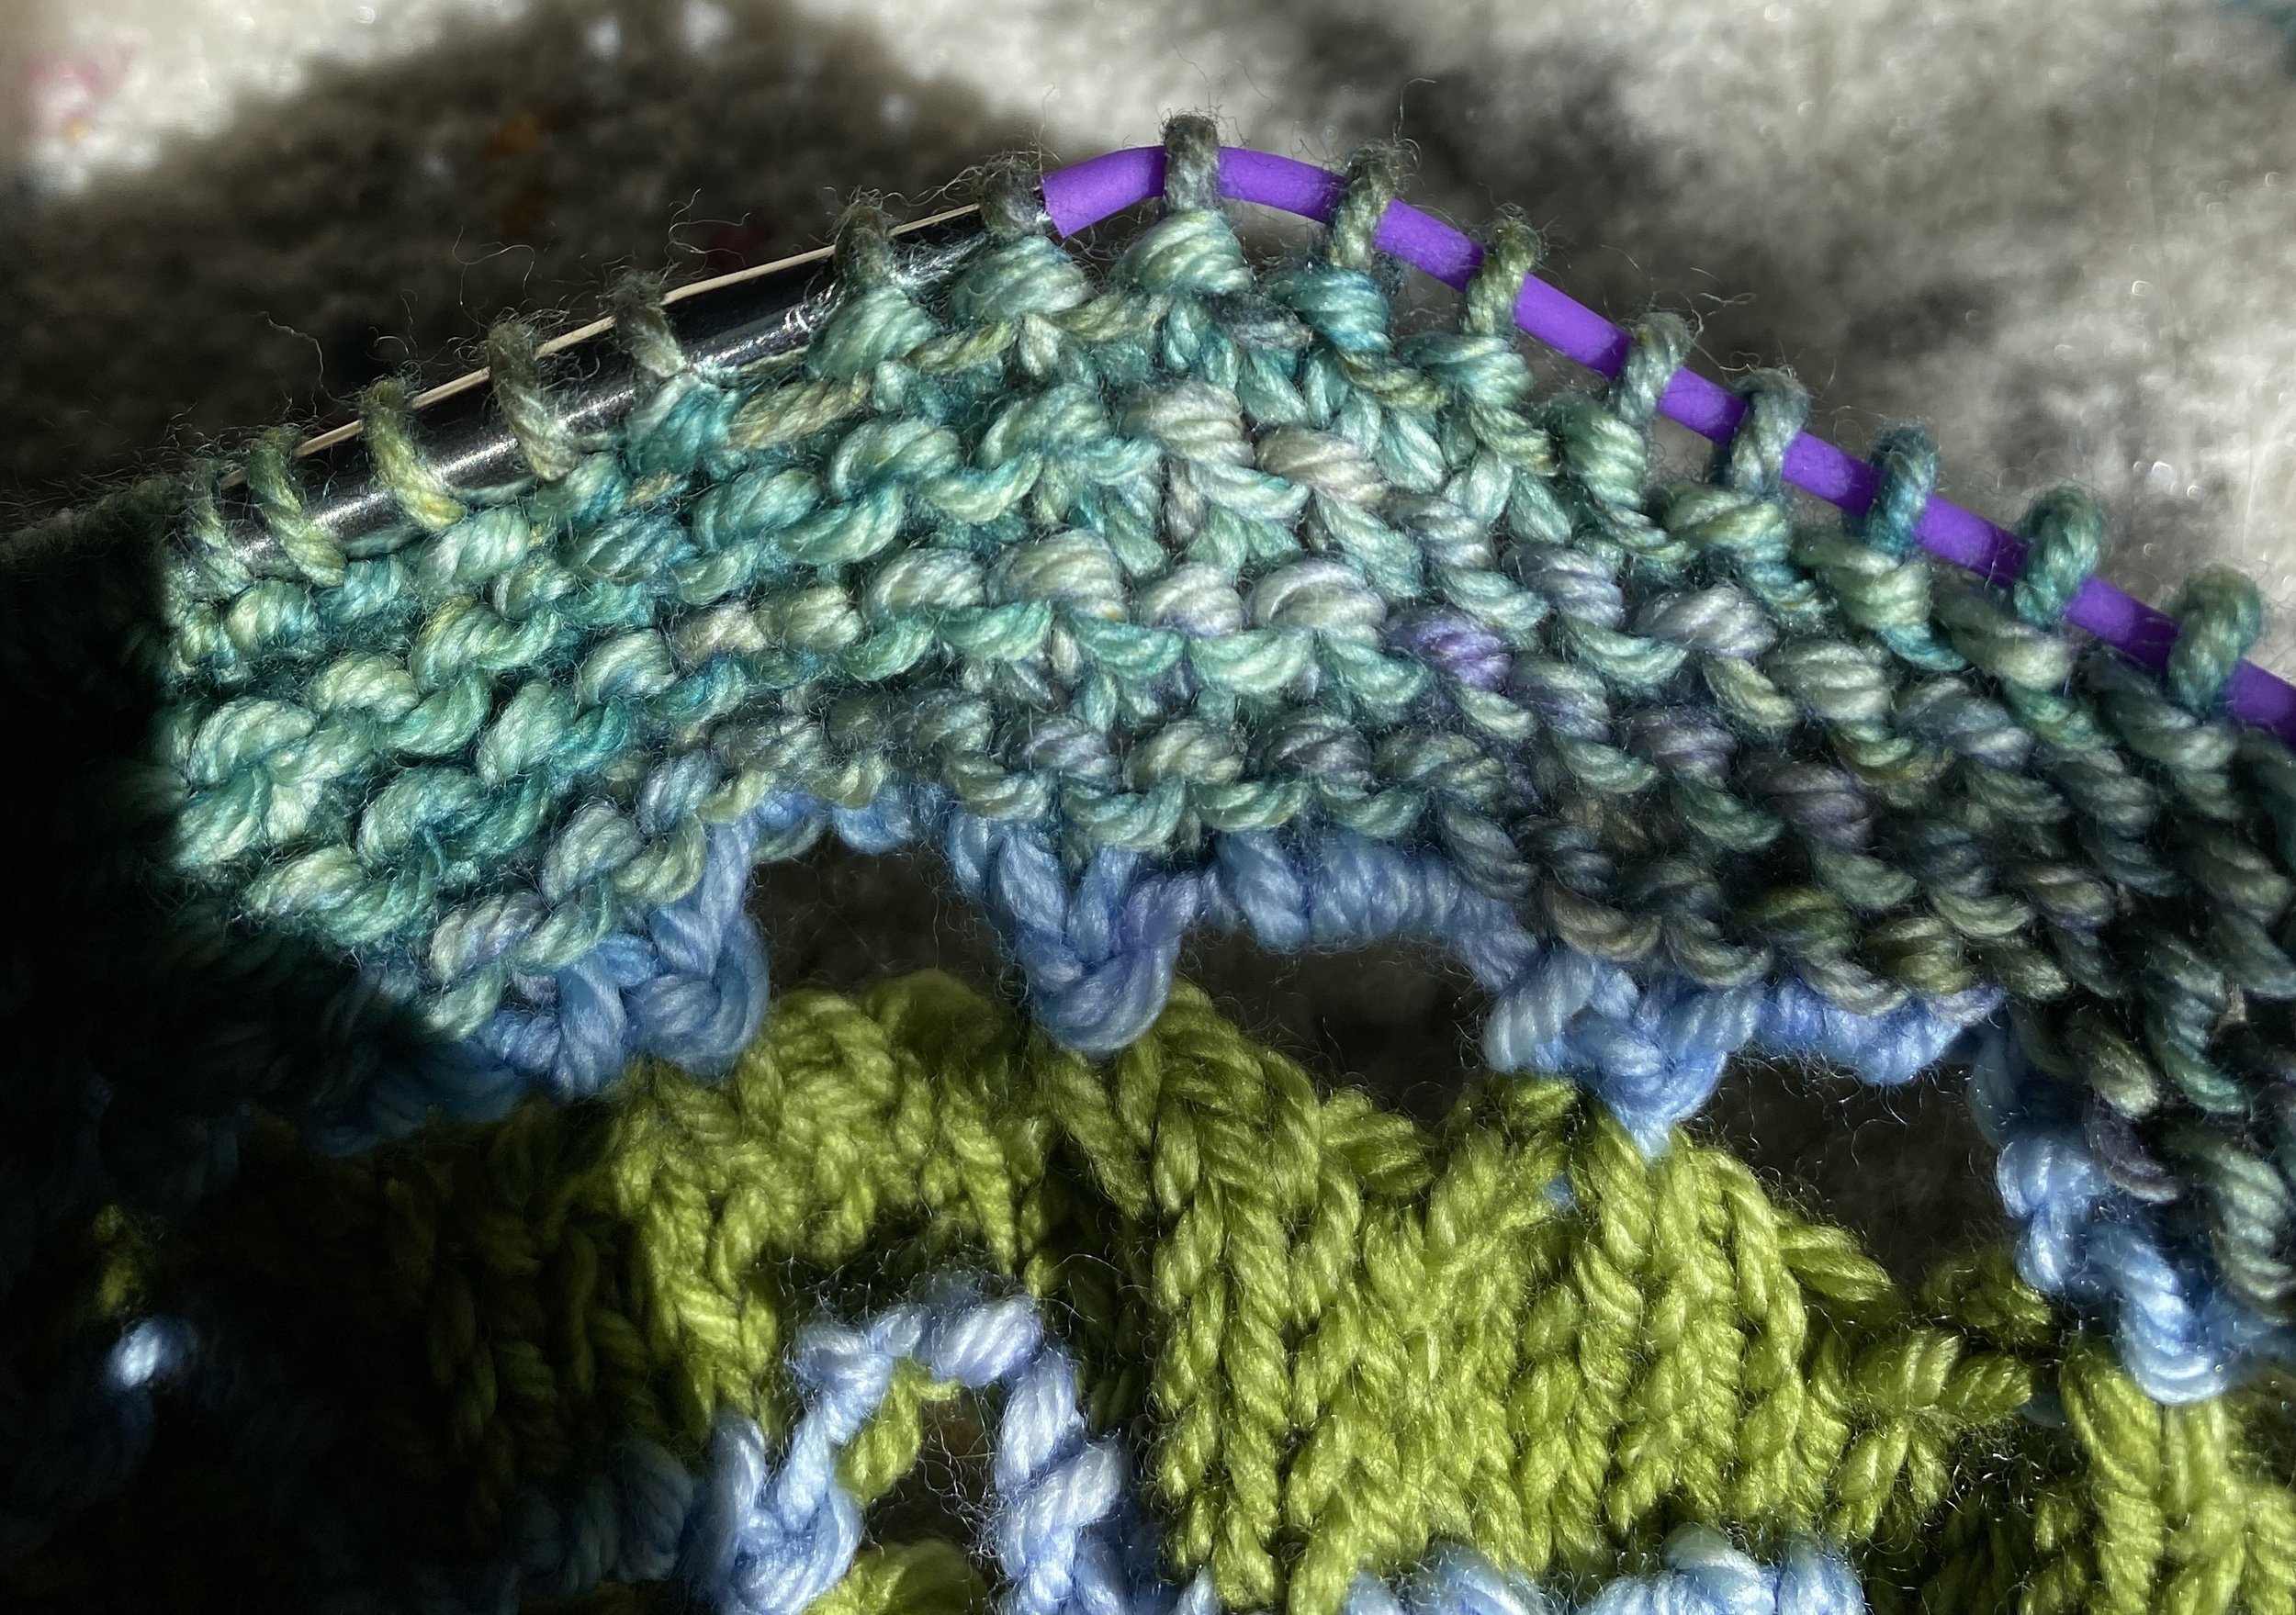
Annie was kind enough to take the time to show me how they work and helped me try them with my Starflanket.

It wasn’t until I went to the shop in person mid-January and tried them out for myself! I truly couldn’t have been more wrong with my initial thoughts. Ana even quoted me in a newsletter saying “TKB cords are amazing. I first thought they were stupid and pointless, and now I think I use them daily.” I still stand by this! So far this year, I have been knitting a very large blanket, and a top down sweater. These cords have helped me knit the sweater by allowing me to see the true shape, rather than the shape of my knitting needles and cables. I think I’ve tried this sweater on more times this week because it’s so much easier than I did my entire last sweater. They have also helped me manage my large blanket project and see the shape and texture better than traditional circular needles.
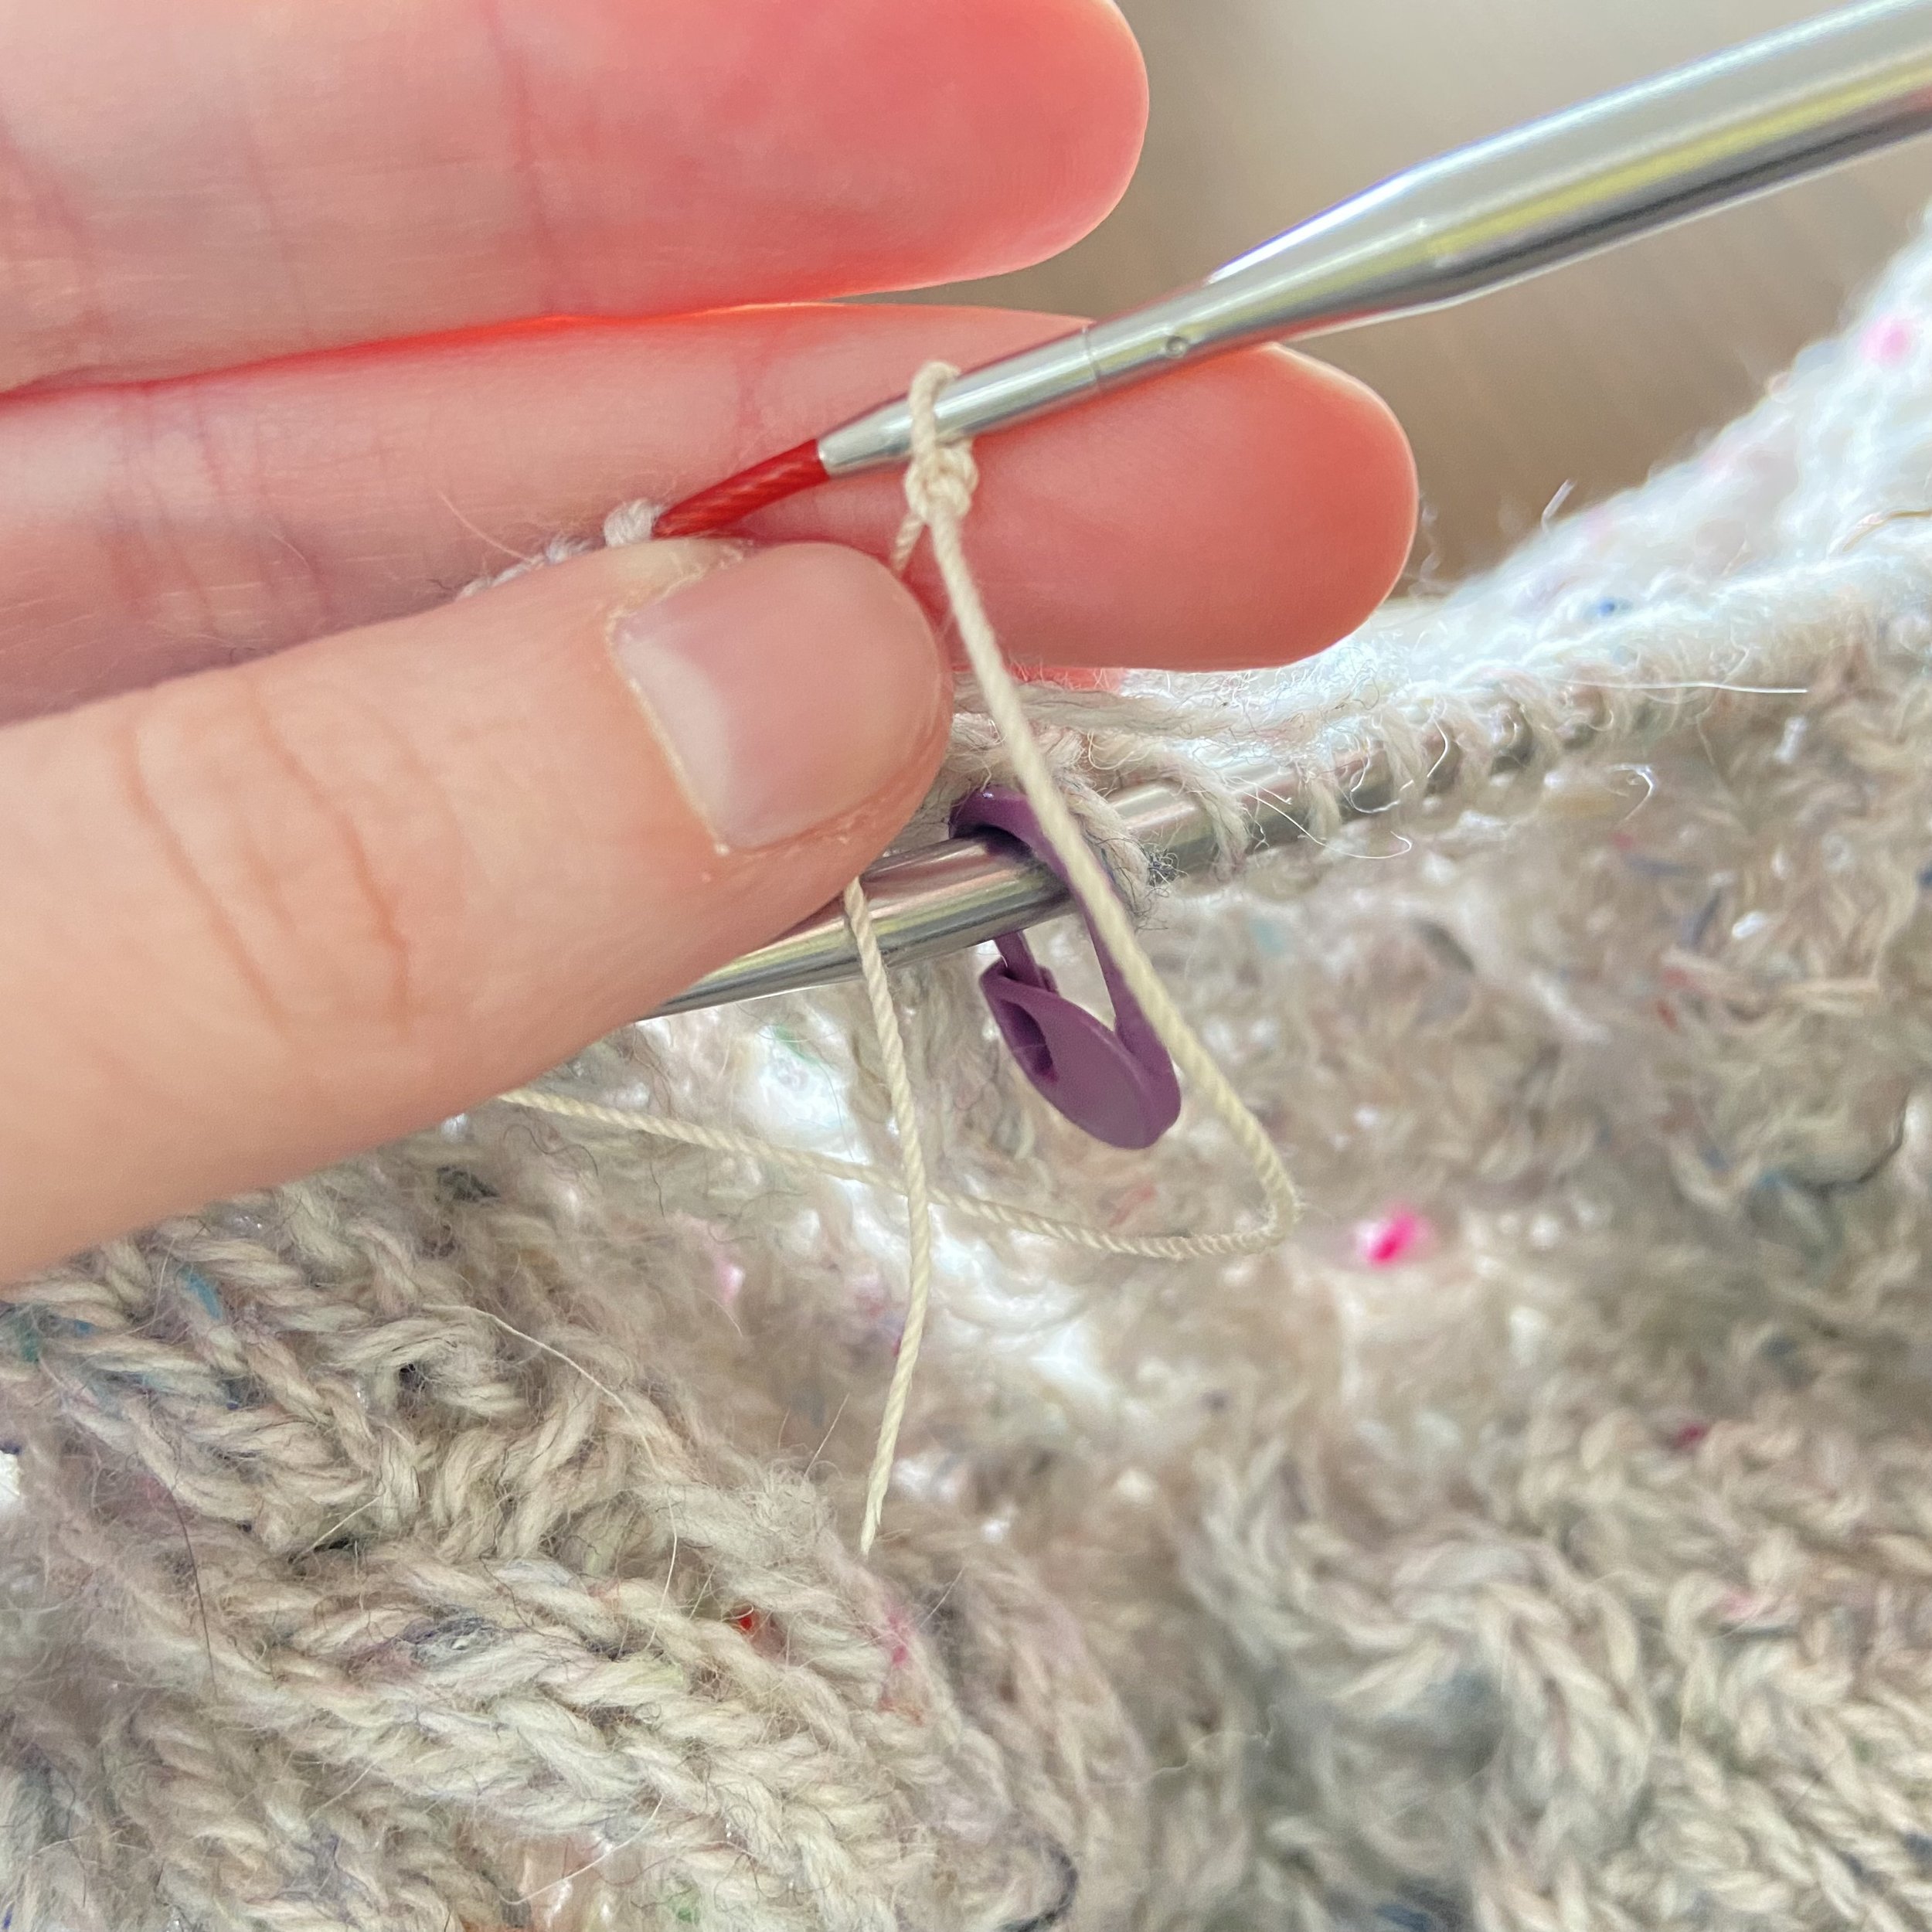
Step One:

Attach the end of the cord to your knitting needle
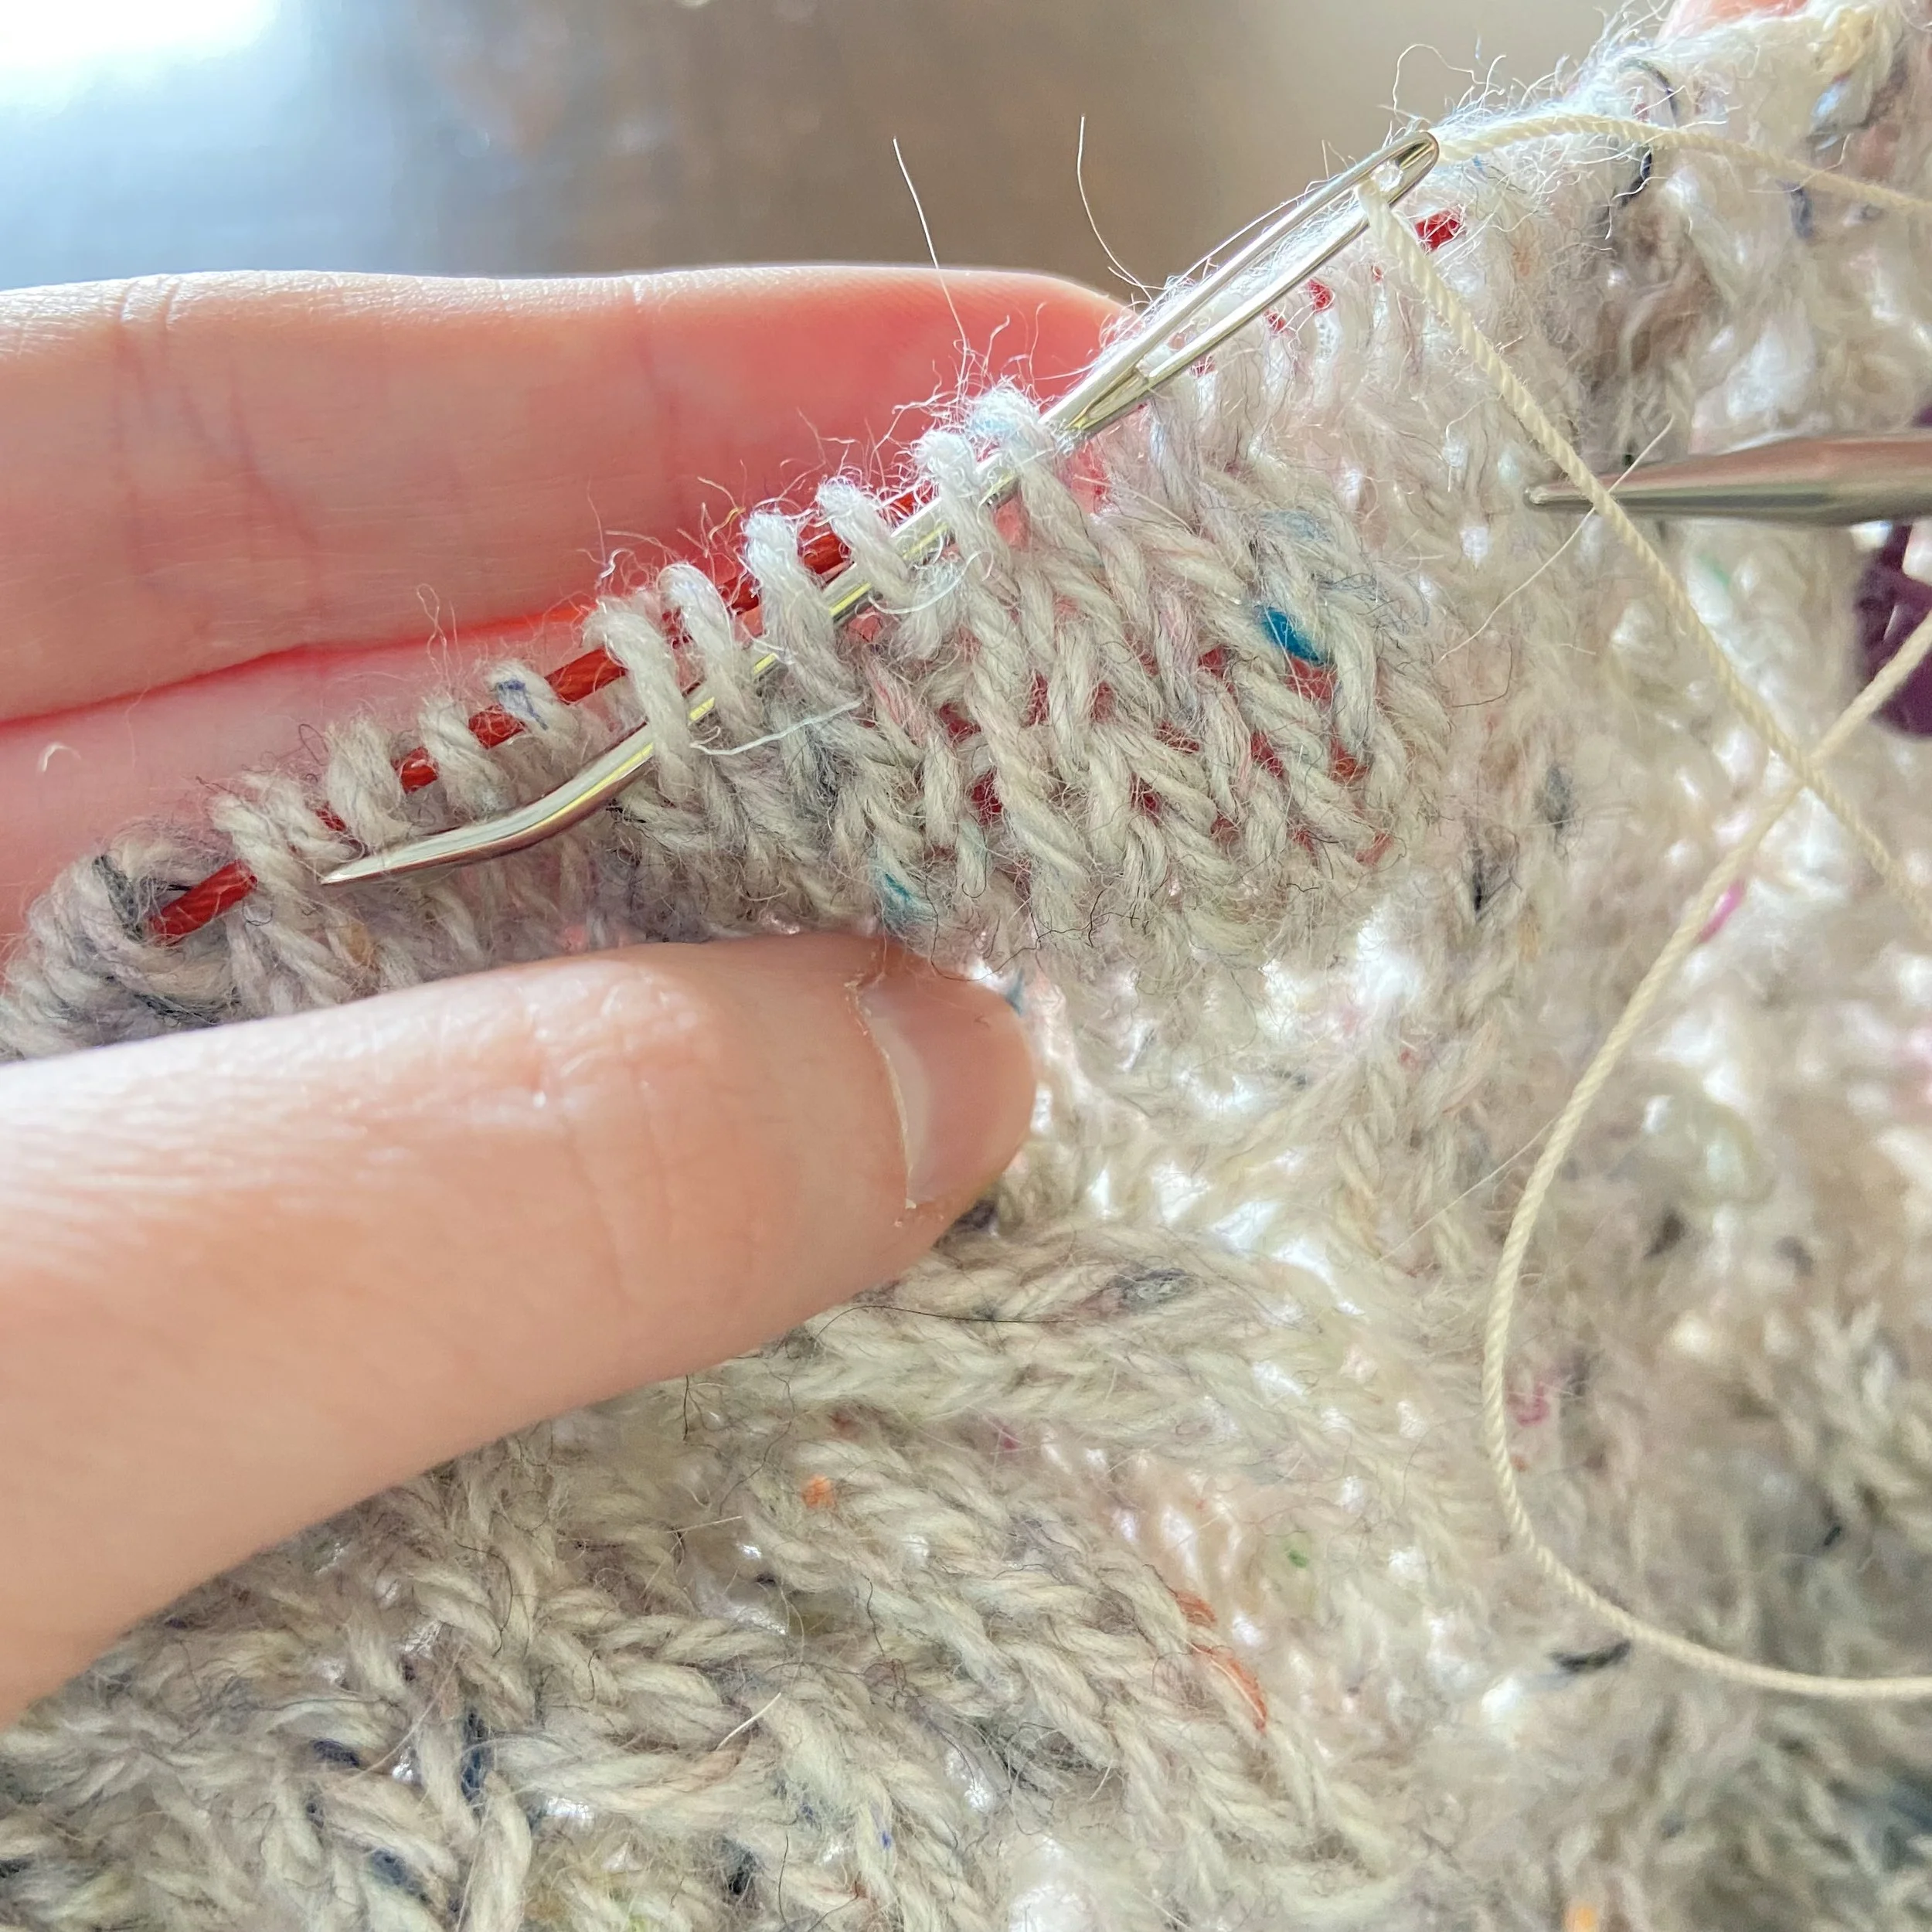
Step Two:

Carefully, slide the stitches from the needle to the cable.

Step Three:

Admire your project, or try on your work!


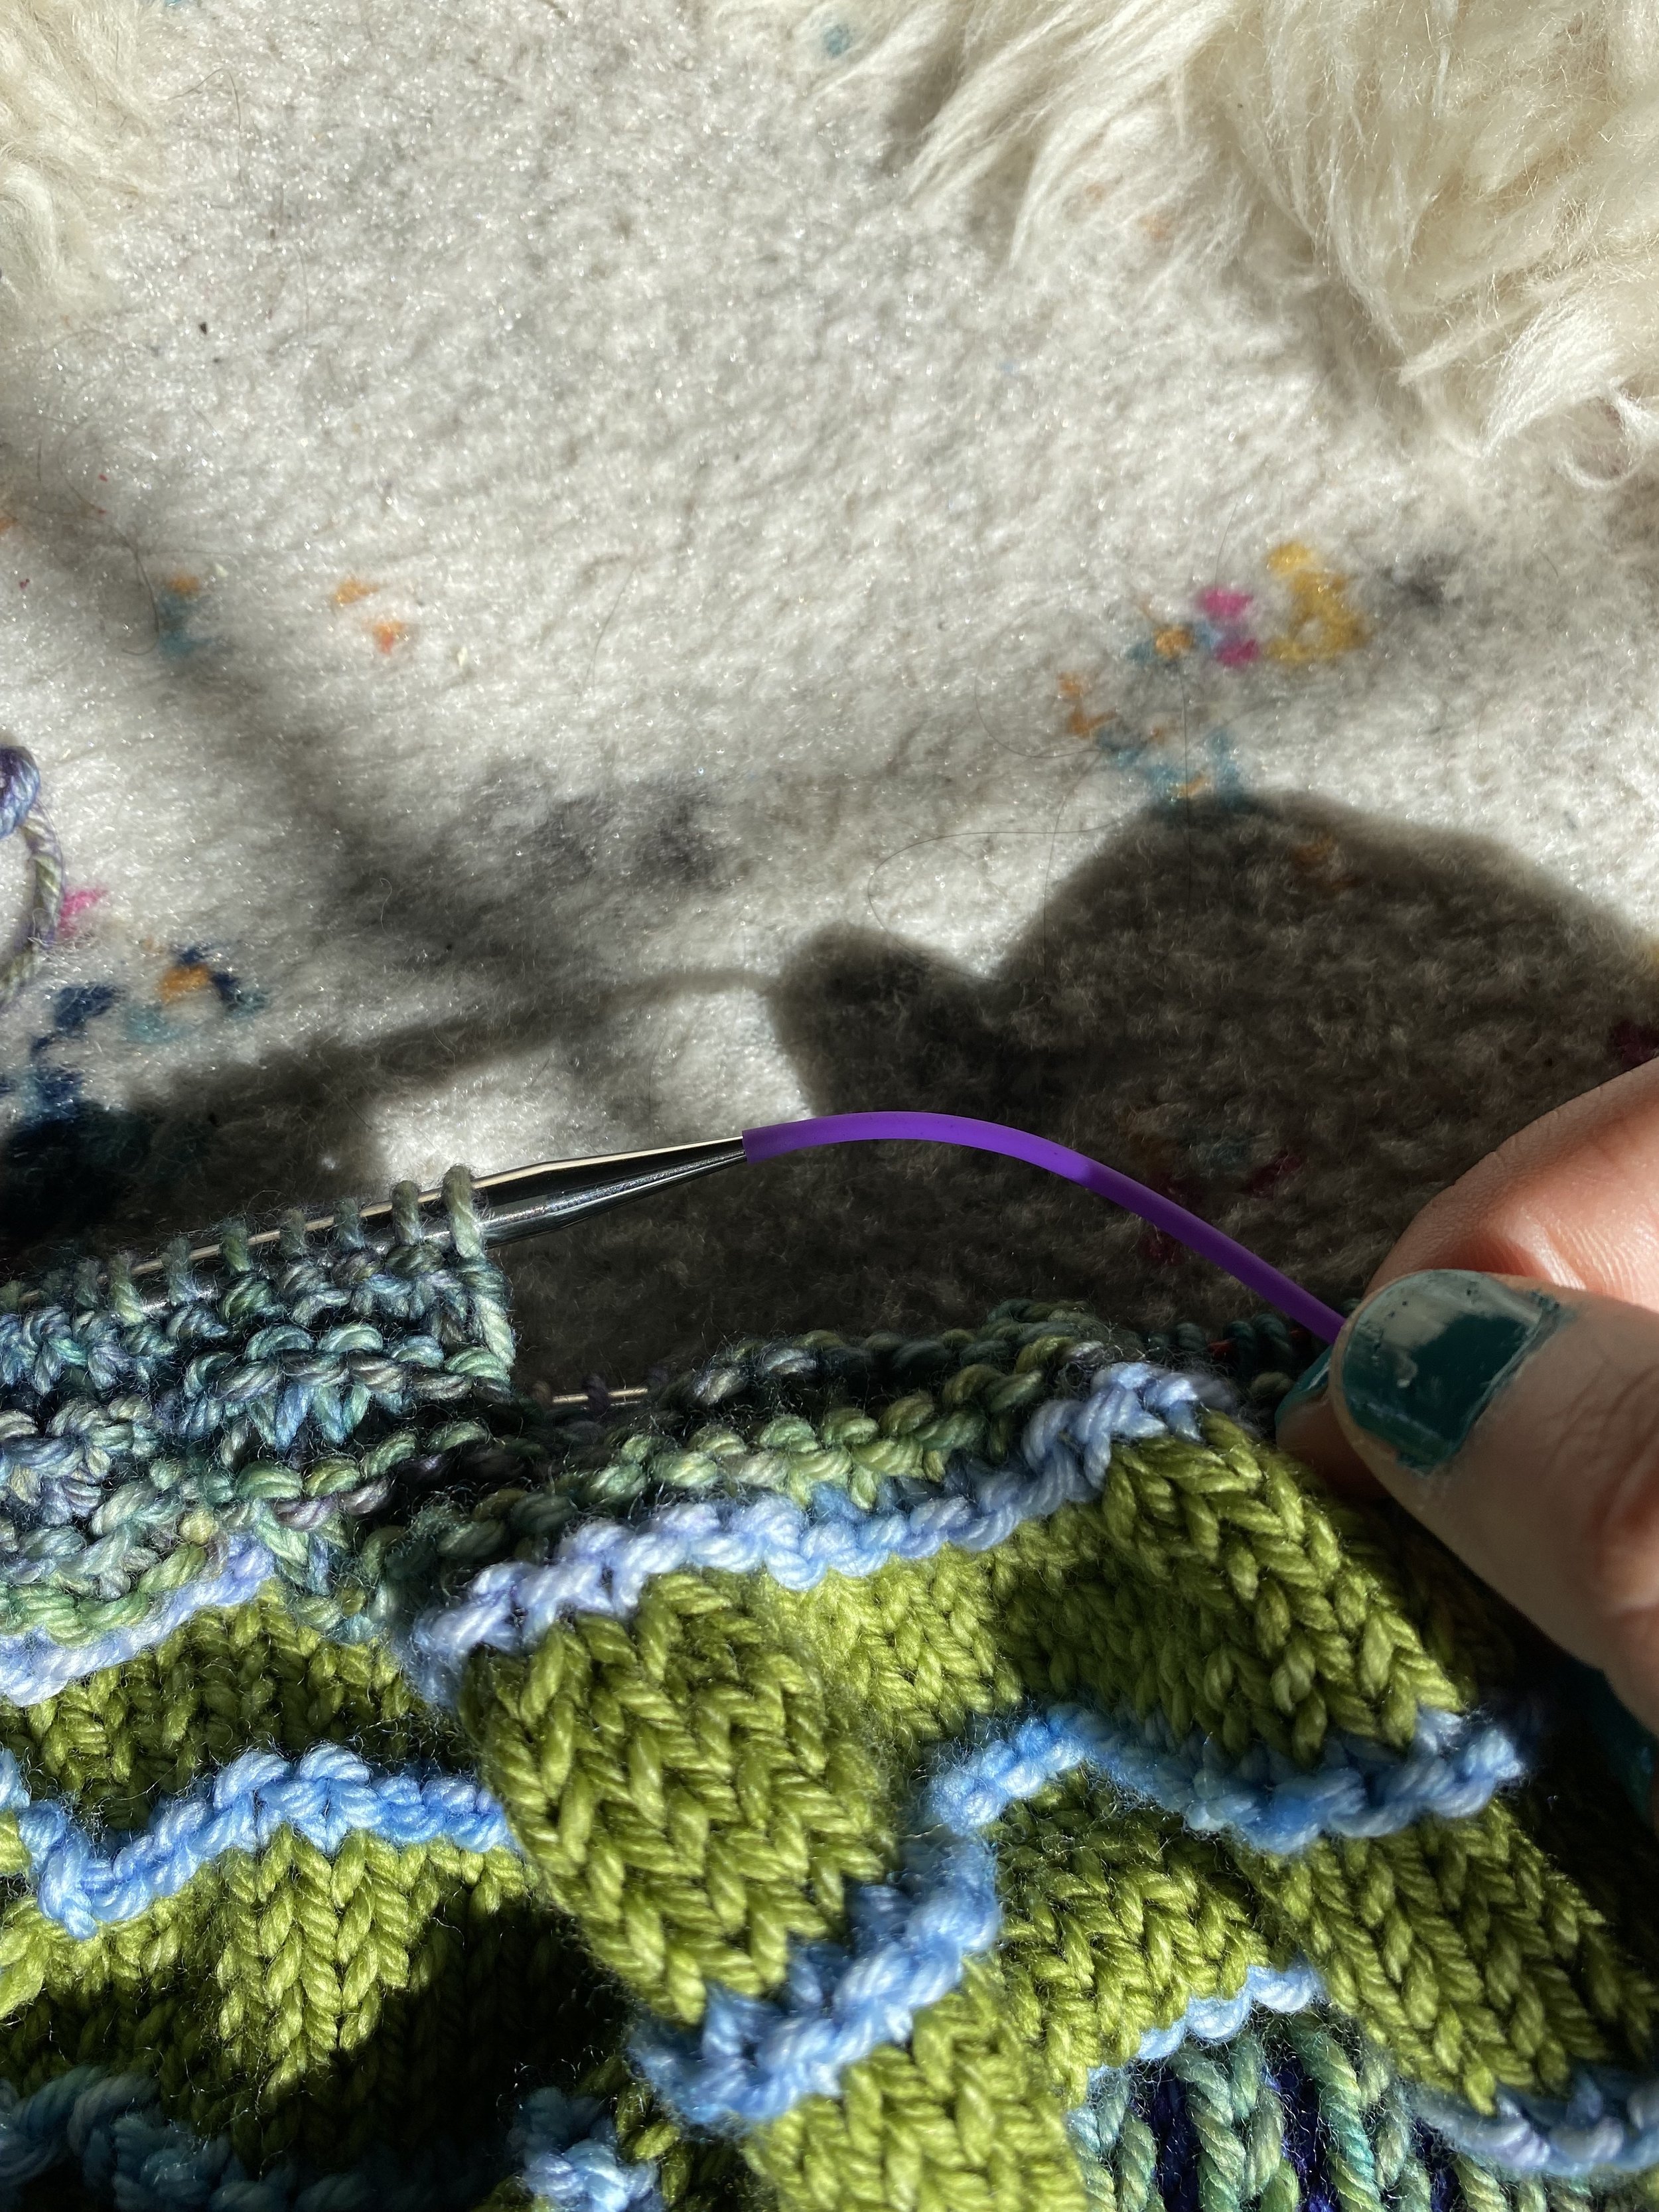
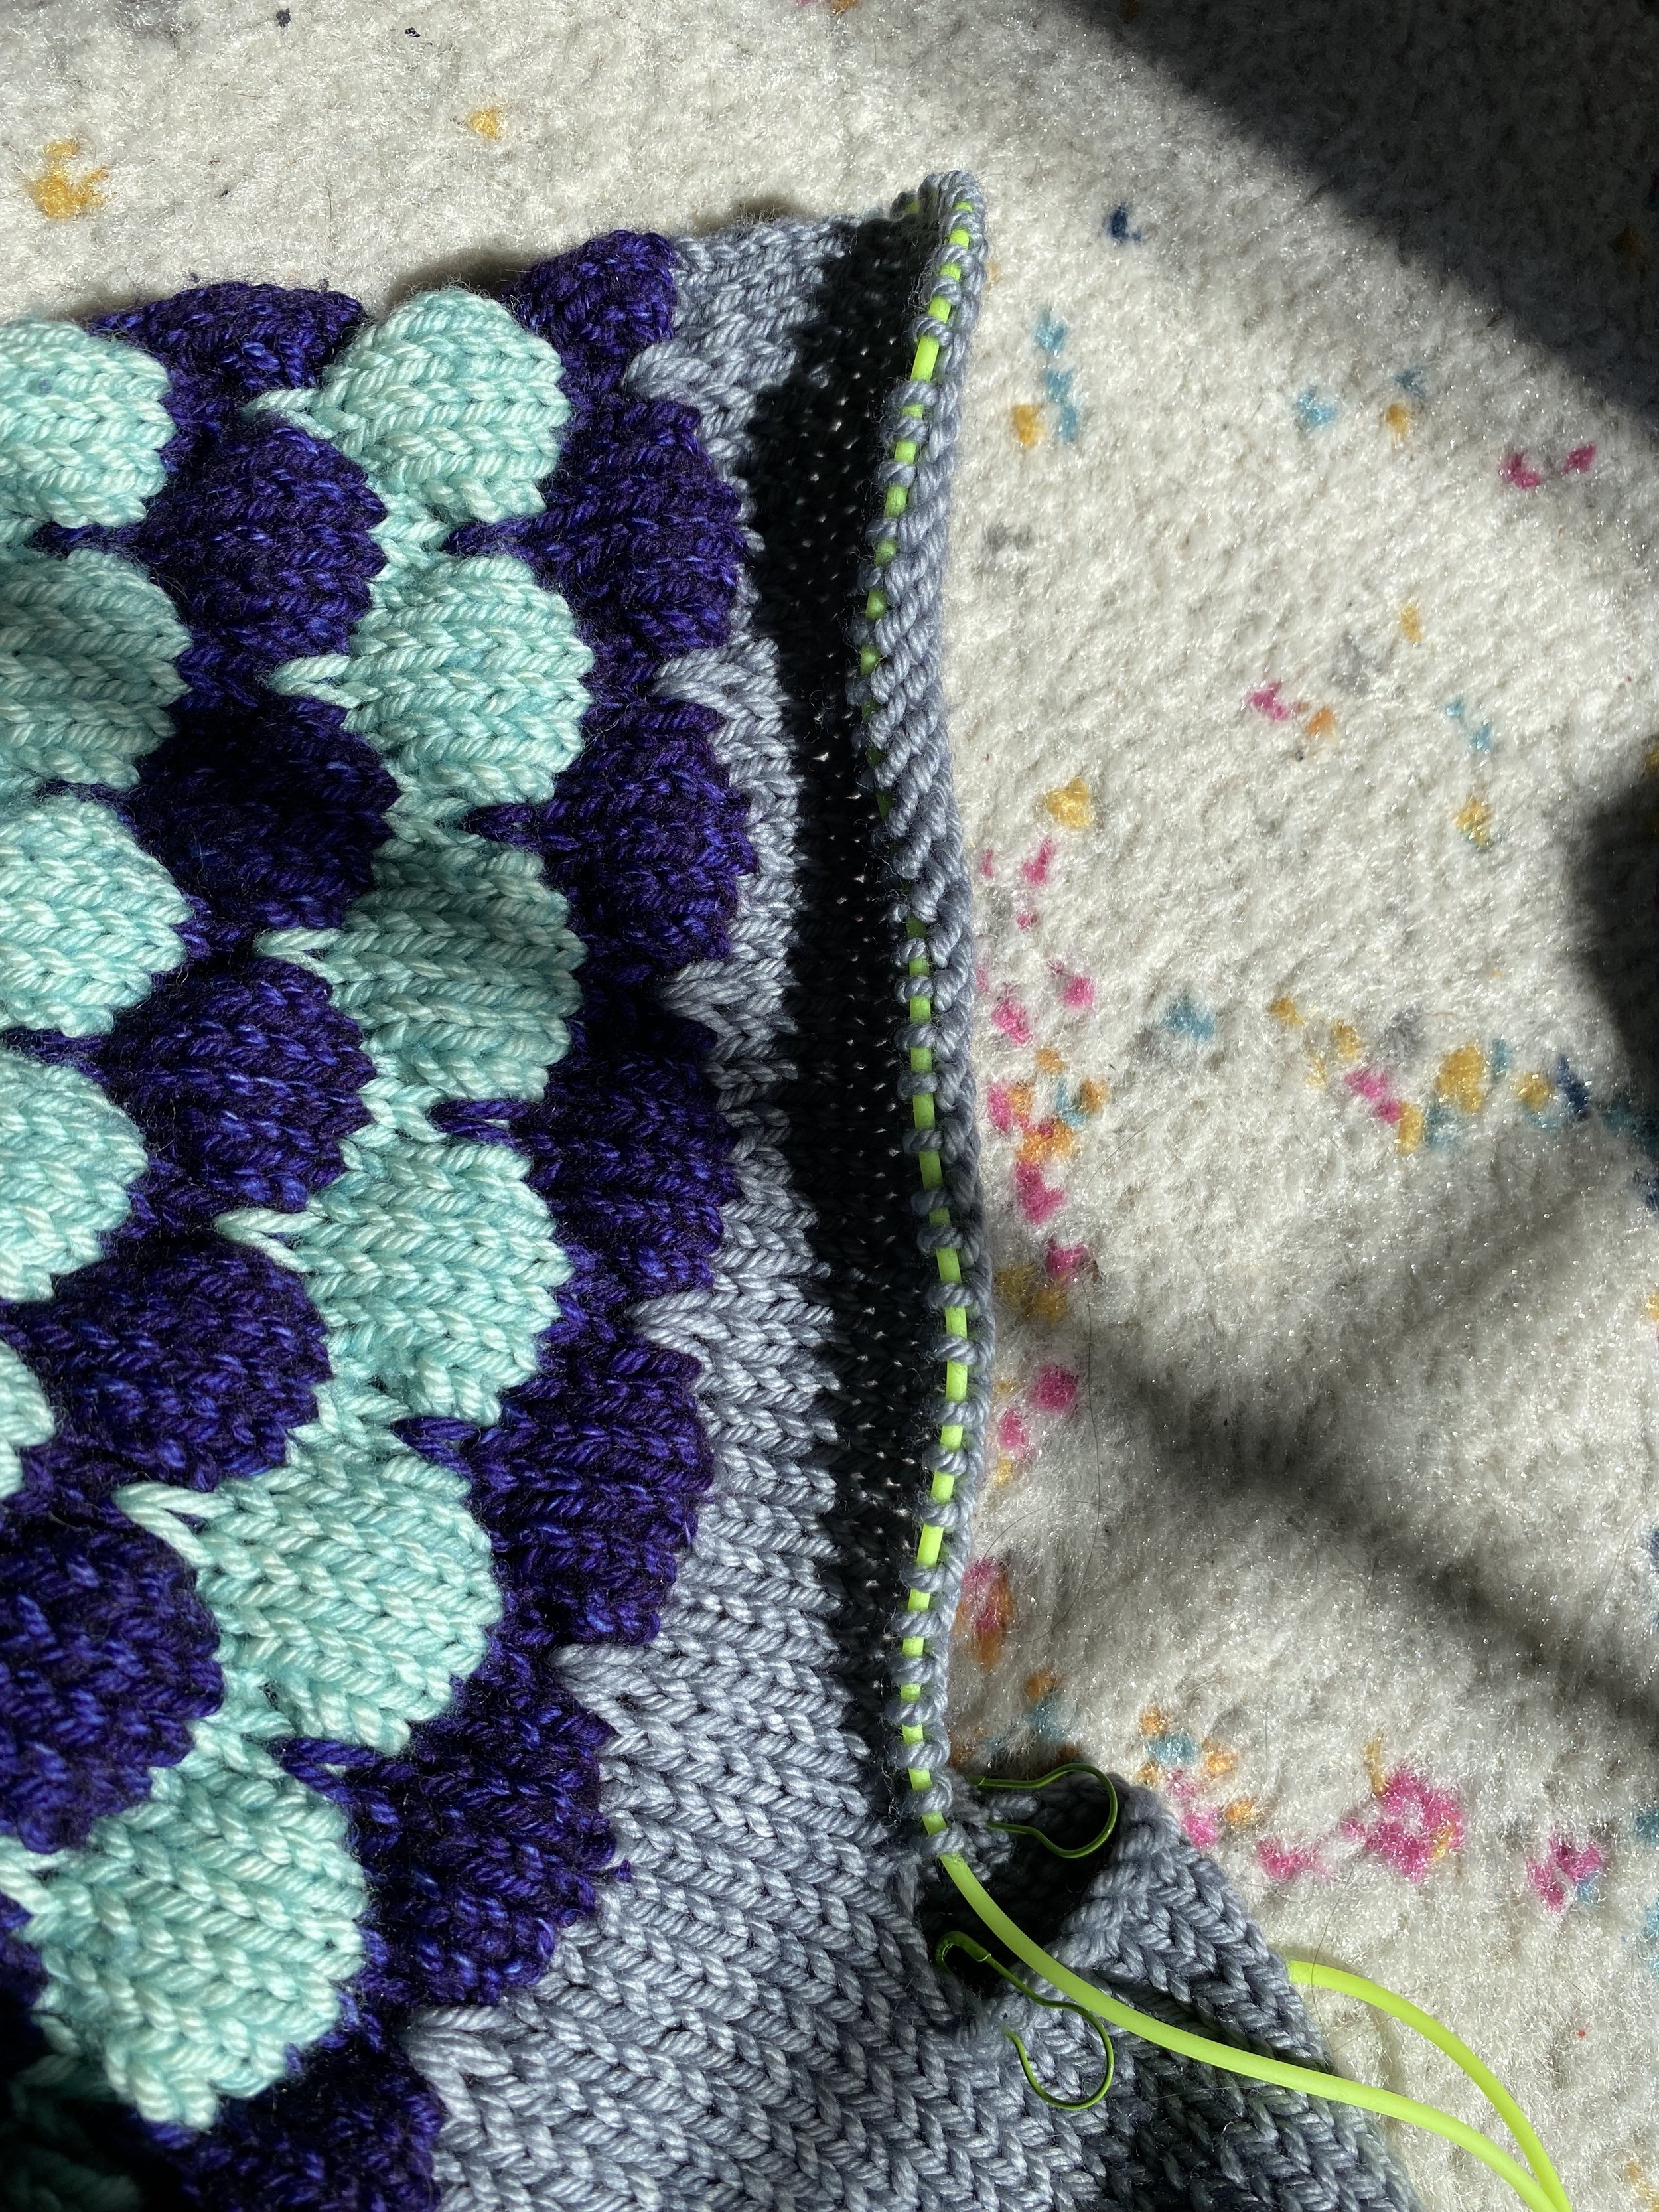
I said that I use them daily and it’s true! They are so easy to use. The smaller cords are perfect for holding stitches for the sleeves of sweaters. I’m currently using the two smaller cords to hold the stitches for when I join the front and back panels of my Weekender sweater.

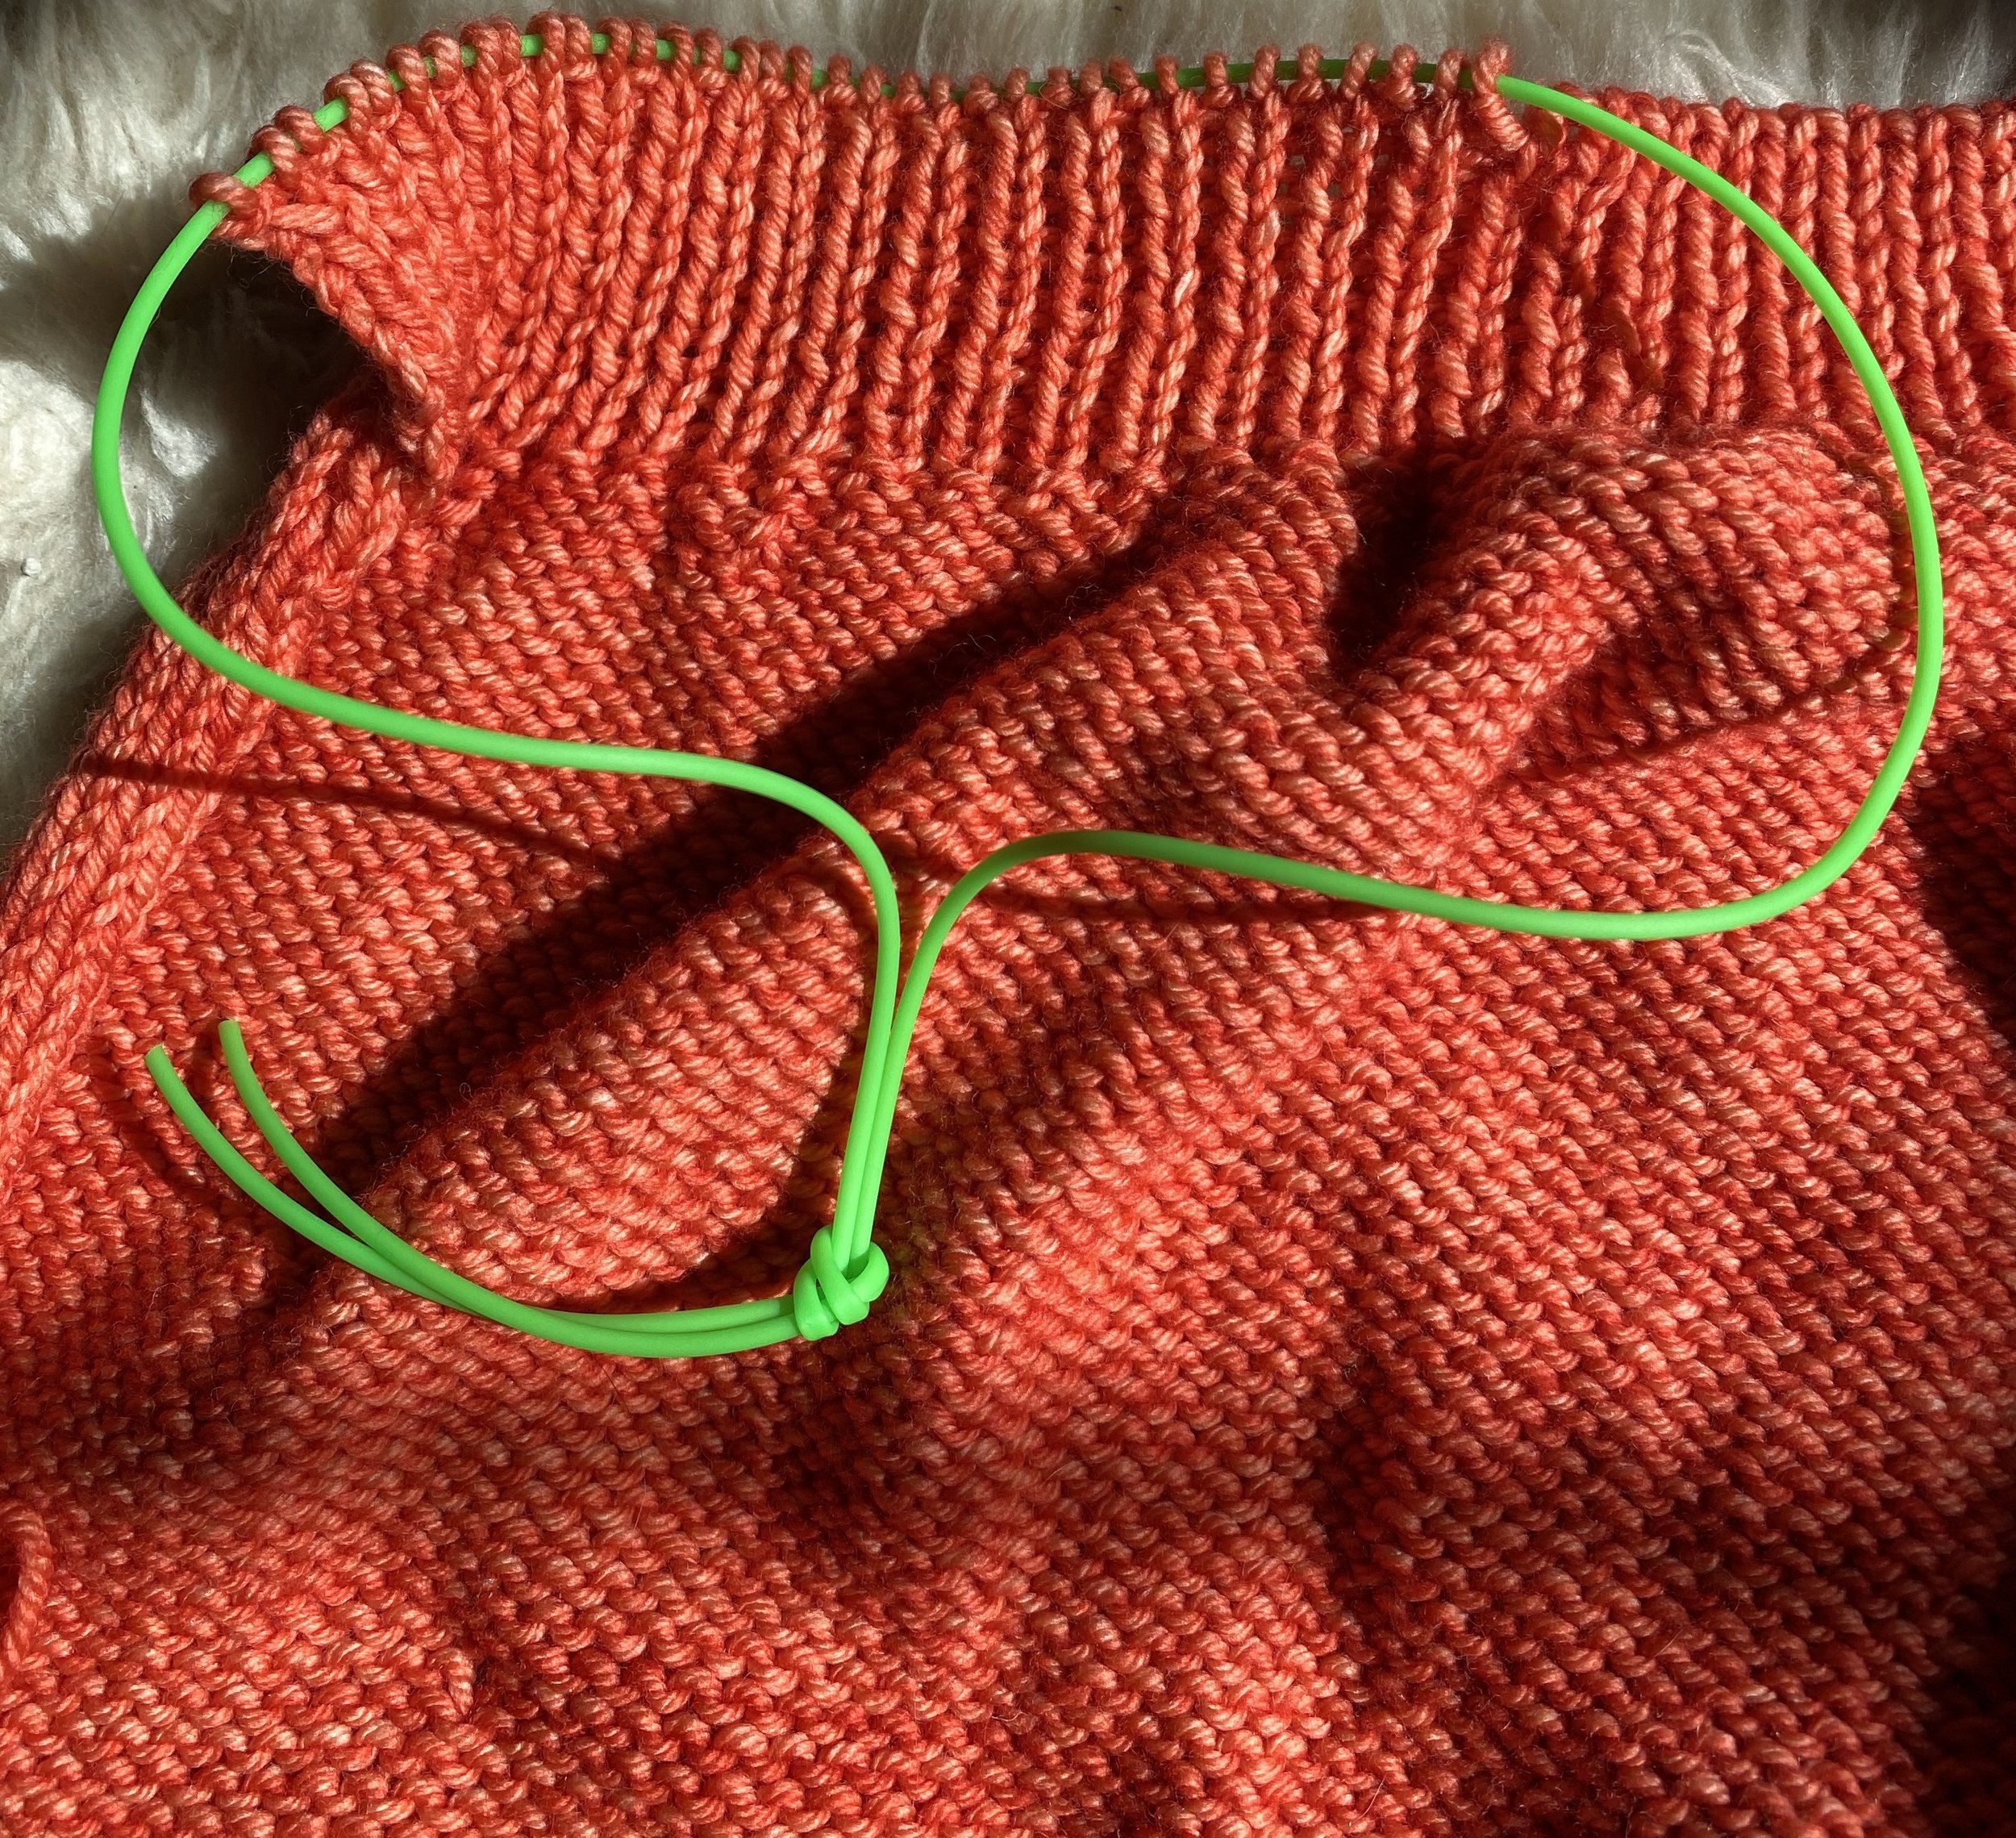
The smaller green cord holding the stitches for the shoulder of my Weekender.

I currently own three sets of the cords. They come in a beautiful assortment of colors. I currently have the Green, Violet, and Yellow cords. I definitely think they’re worth picking up a set. They’ll help mitigate some of that frustration trying on a sweater, or holding stitches or SOMETHING else. 

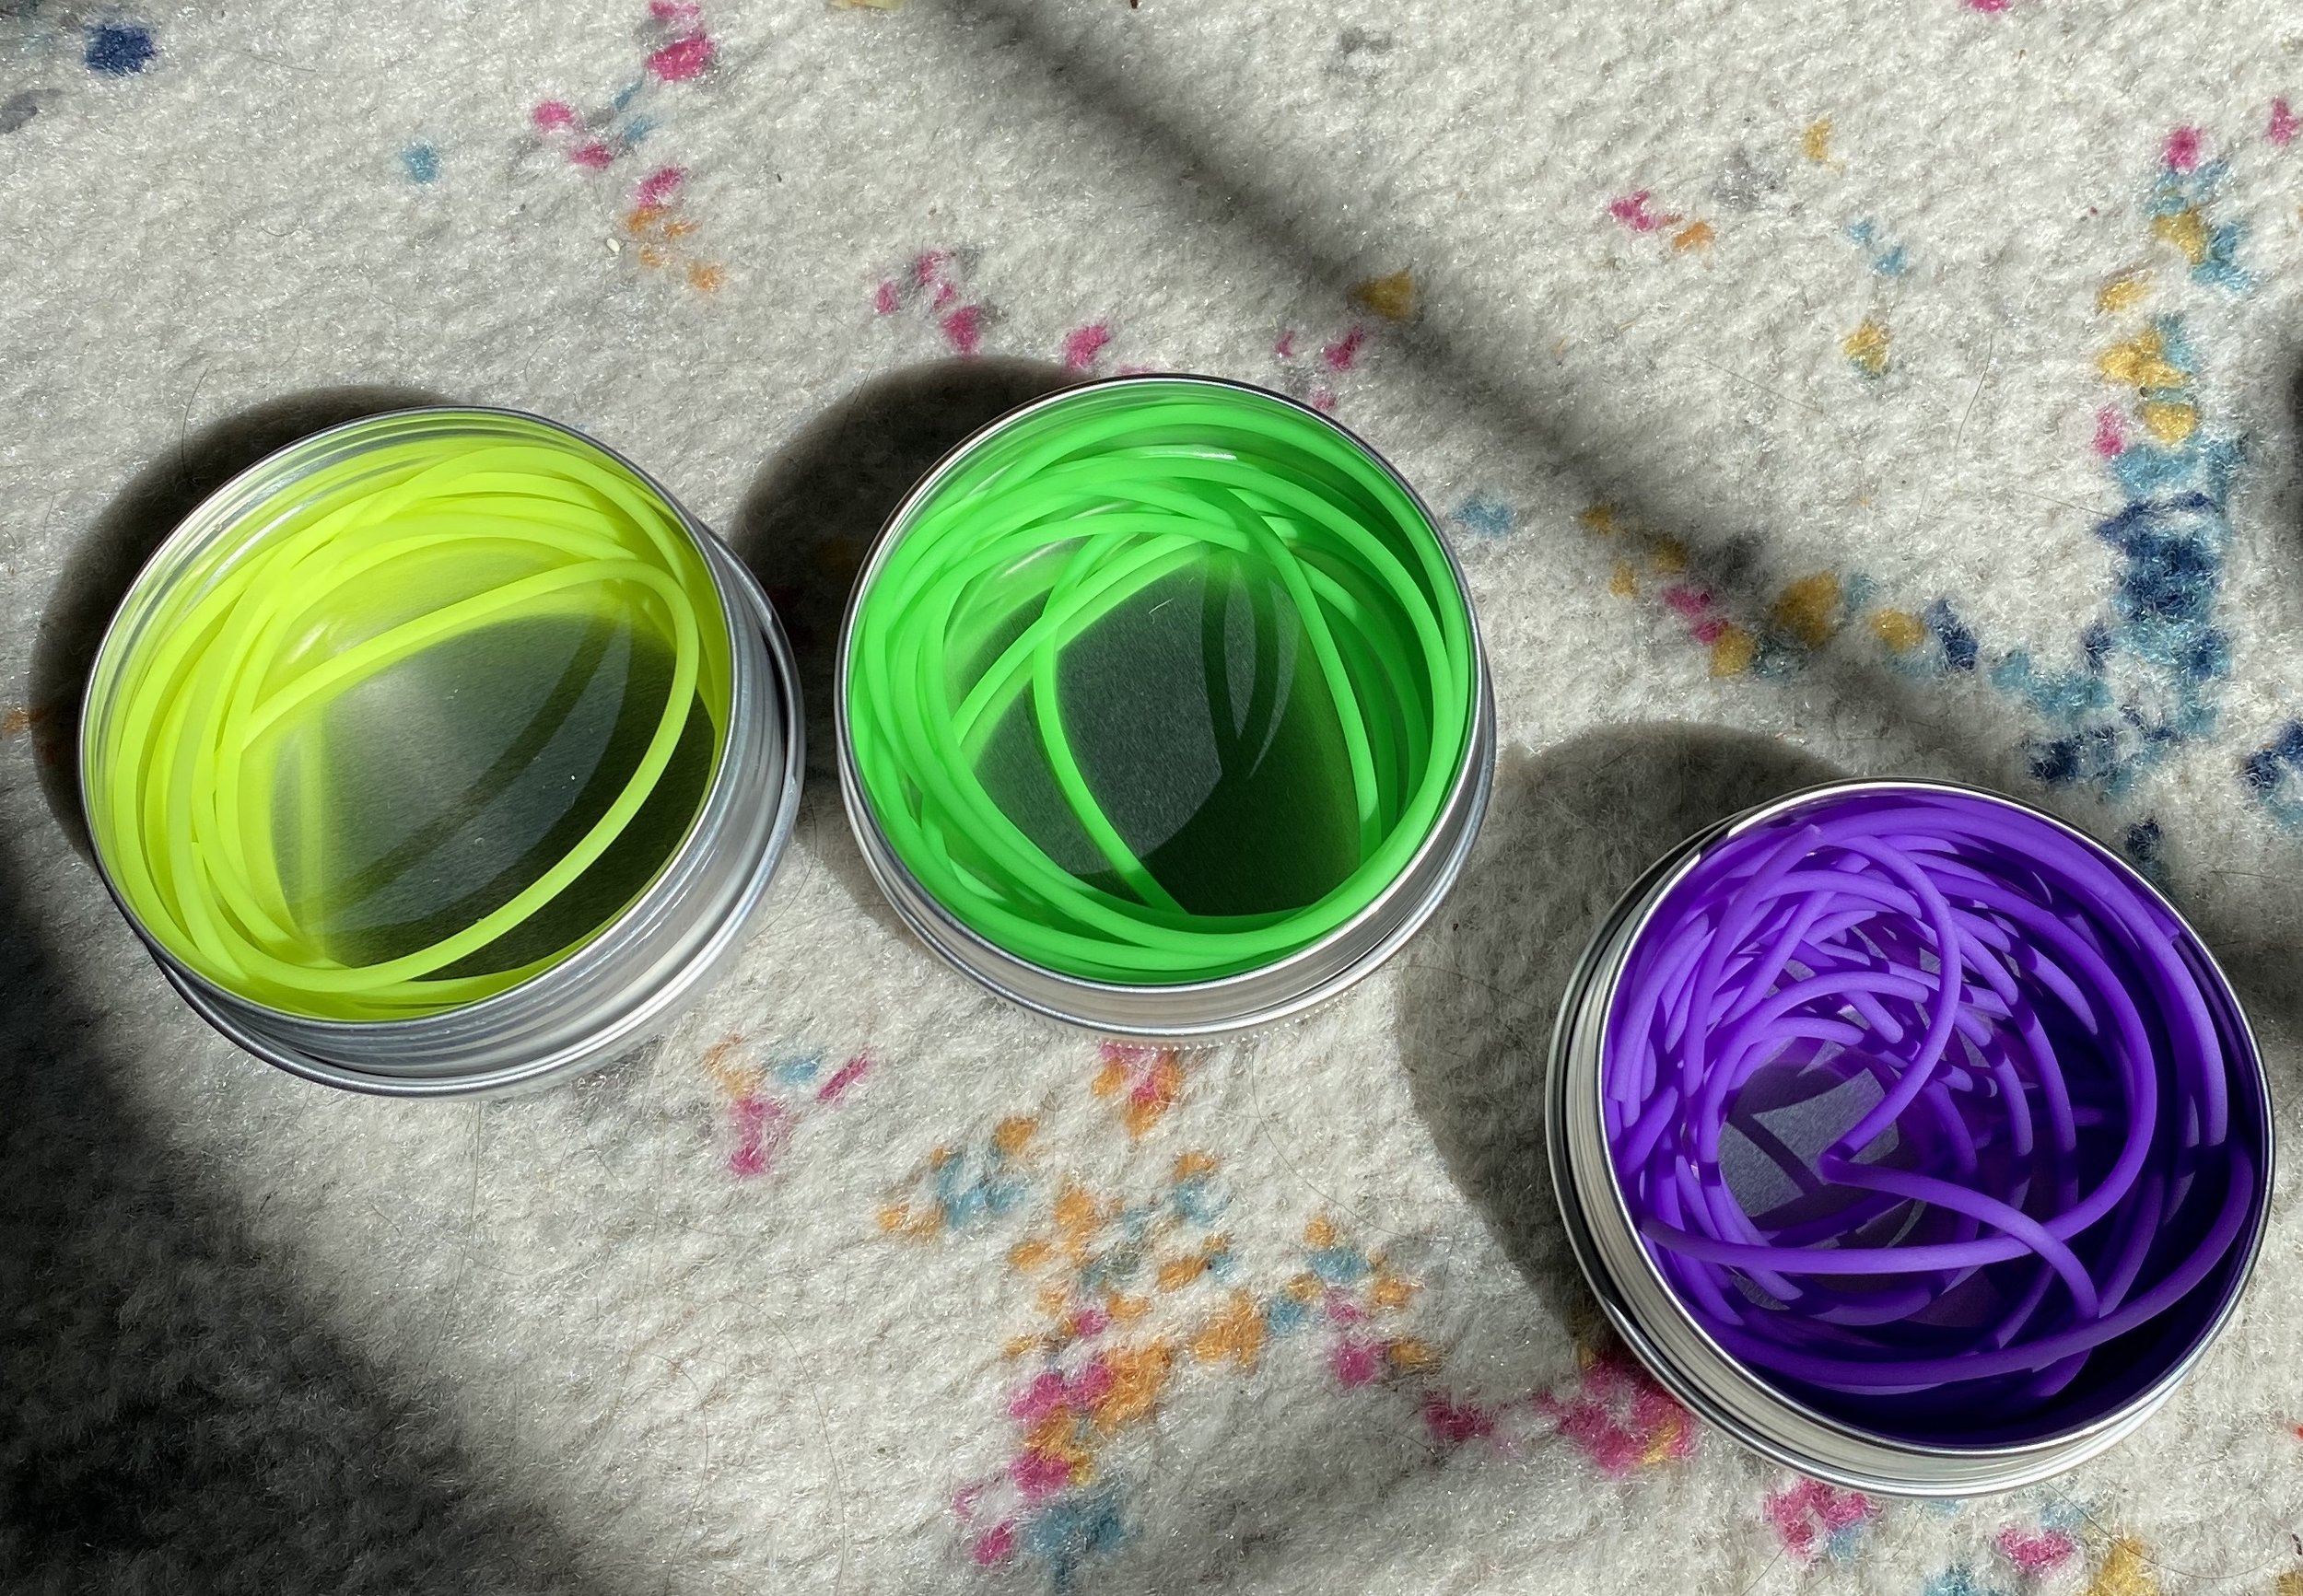
The three sets I own. Yellow, Green, and Violet.

Another example of the cords holding the stitches for the sleeve of my Bubble Sweater.

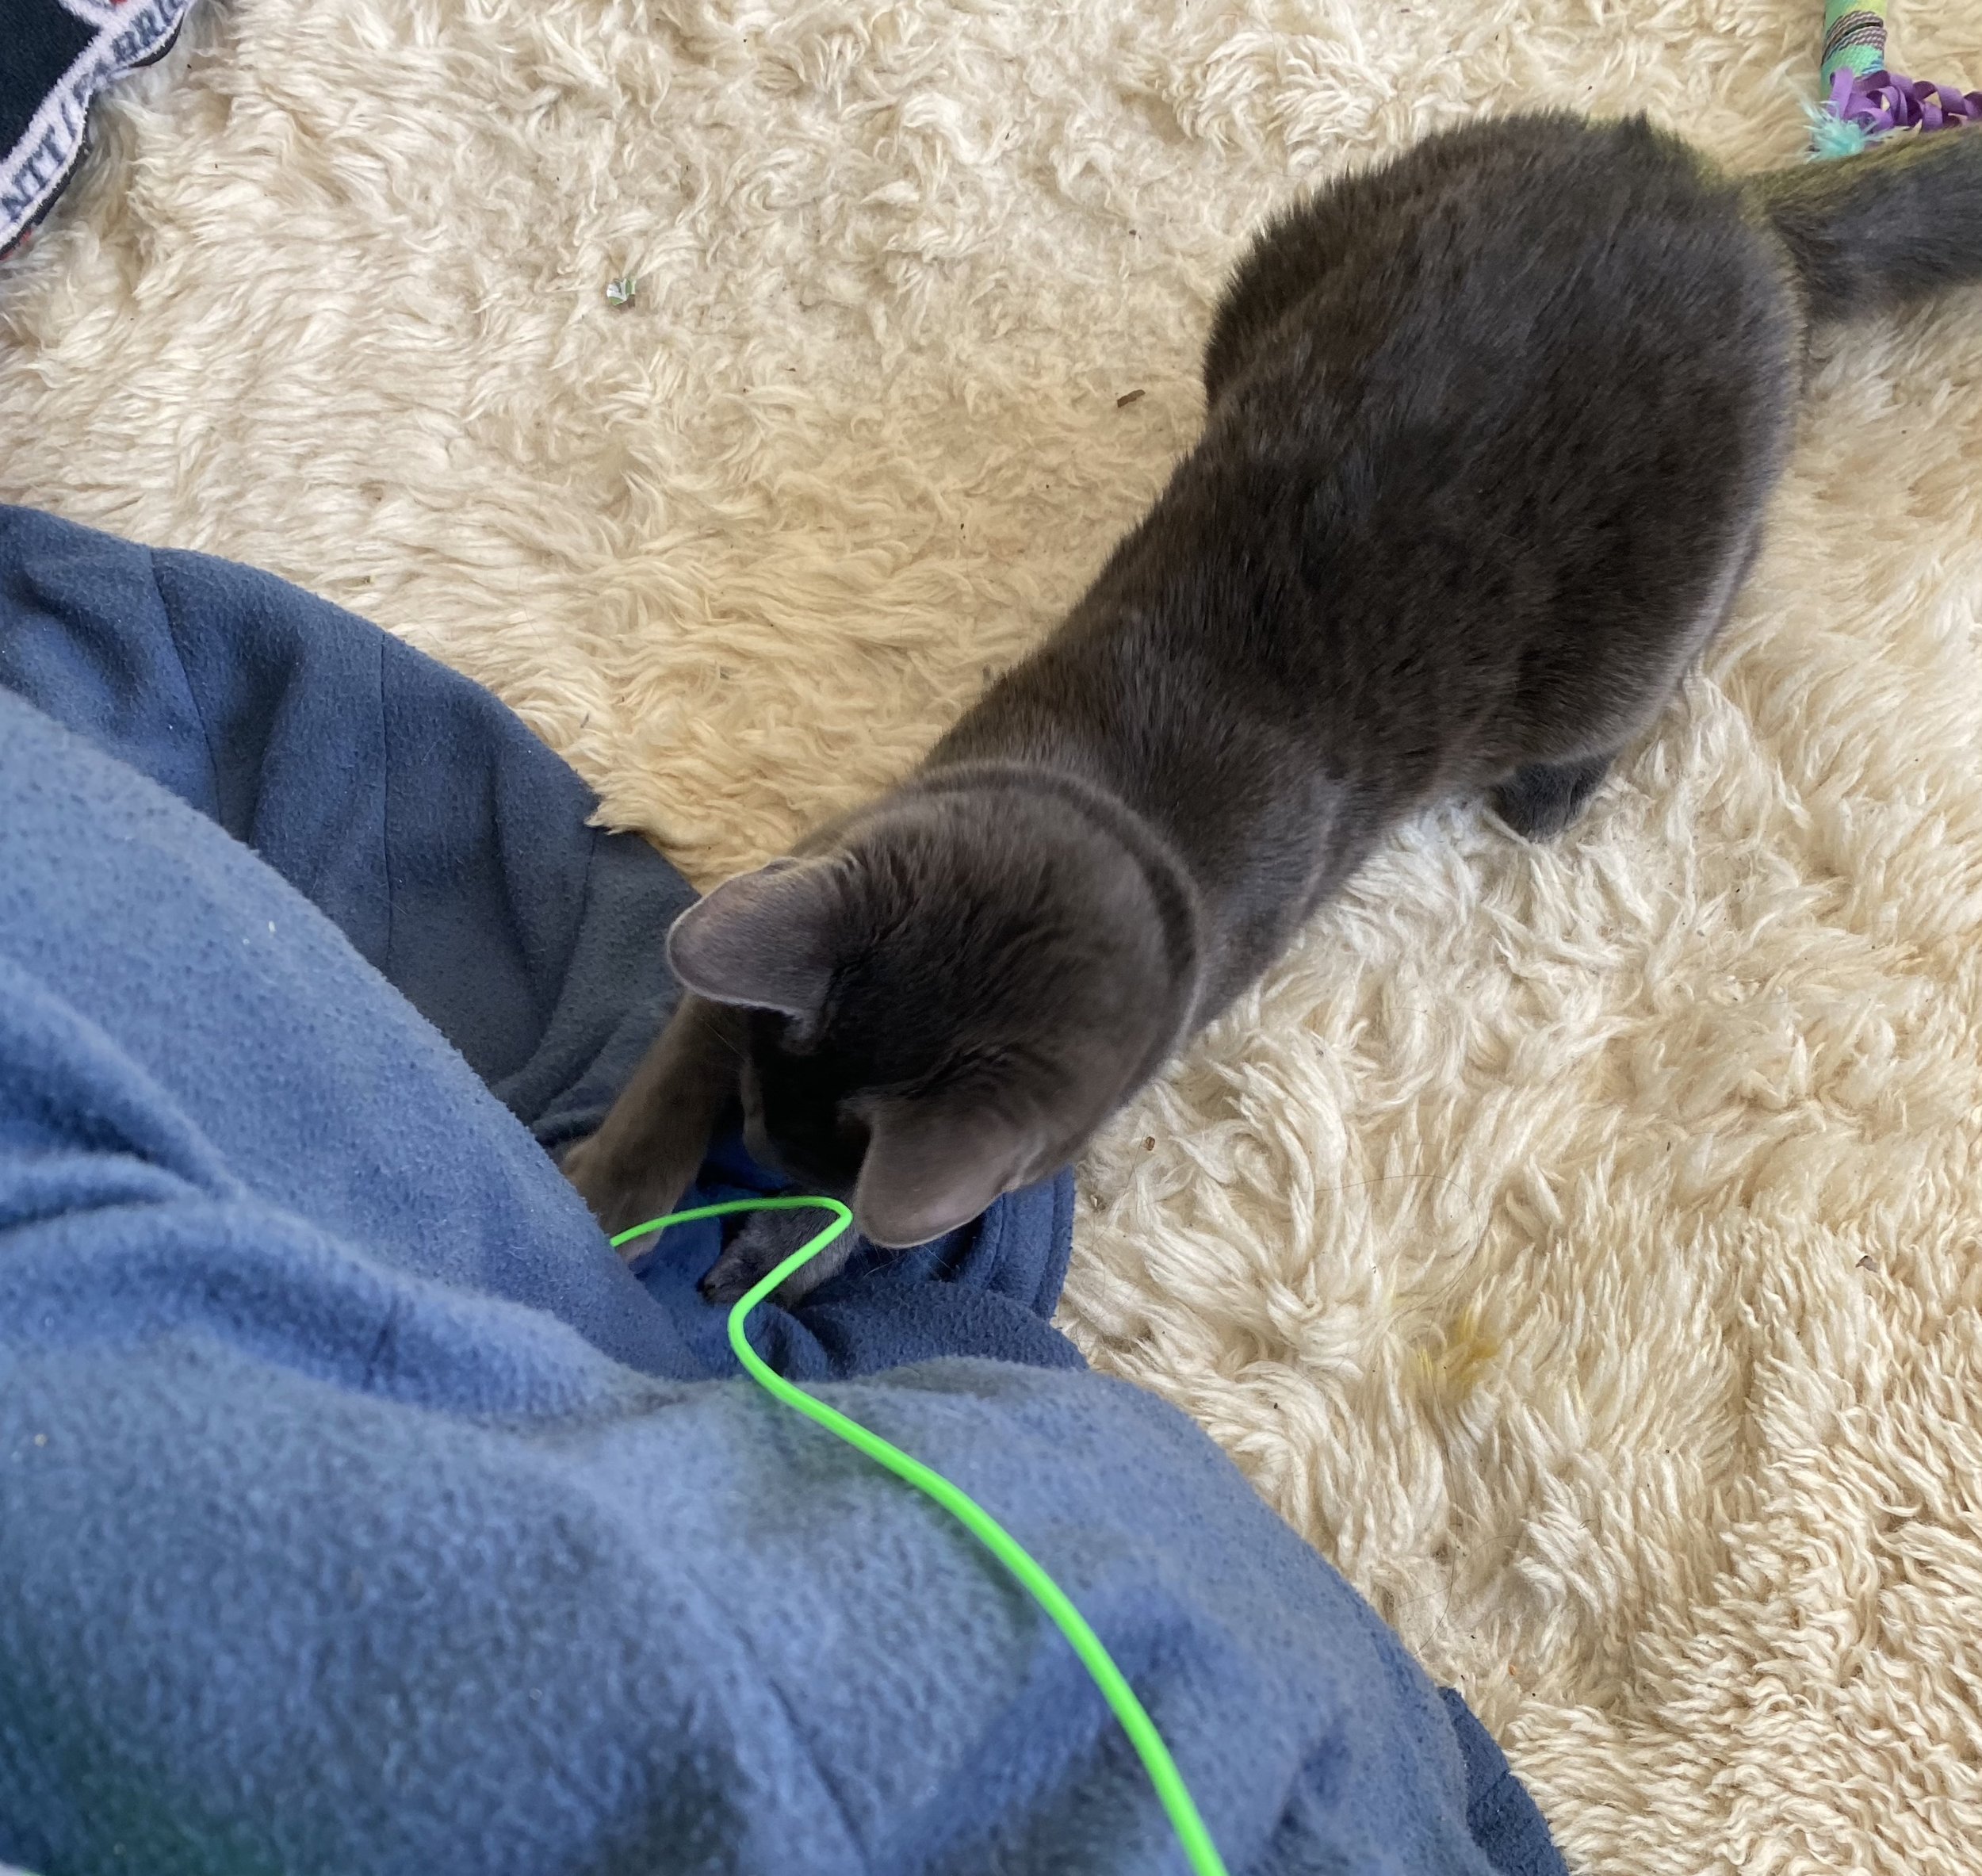
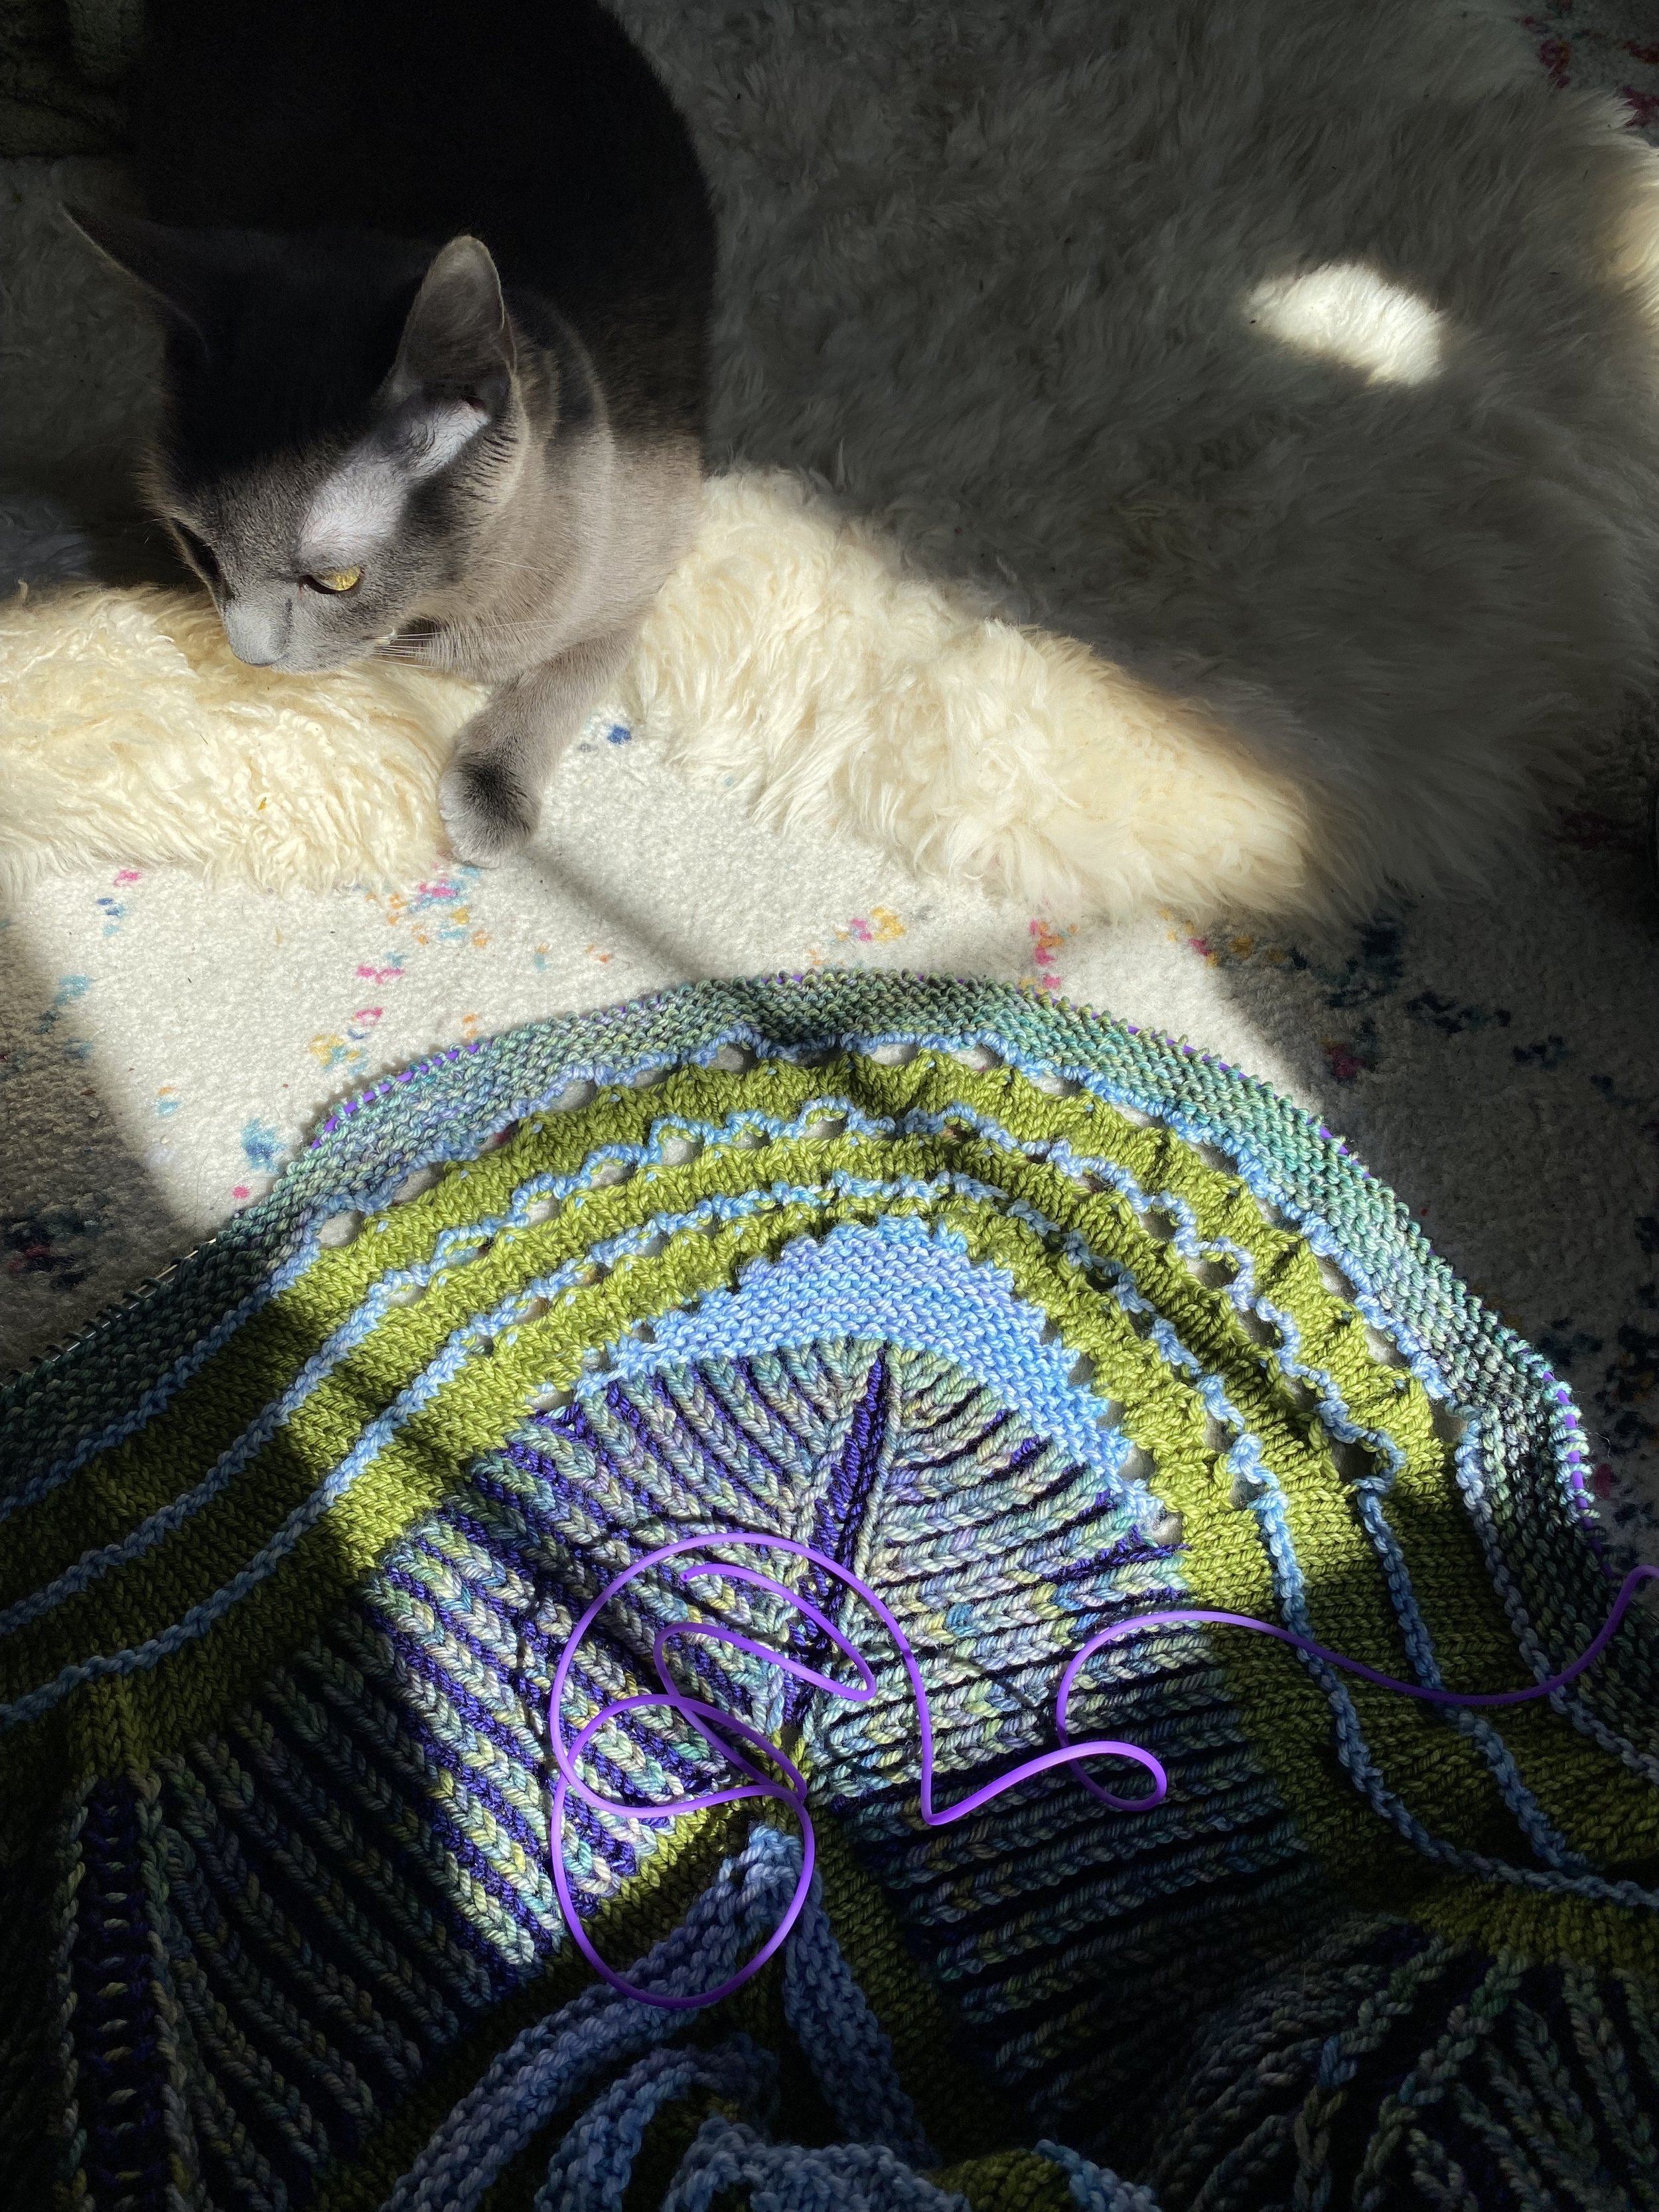
The biggest downside, they are tempting targets for cats! Or perhaps a bonus?

I hope this helps convince you that these cords are worth it! Pick your favorite color (or three) here! Happy knitting!

Knitting Needle Sizes Conversion Chart

Ana CamposComment

A handy table of knitting needle sizes!

US Sizes

00000

0000

000

00

0

1

1.5

2

2.5

3

4

5

6

7

8

9

10

10.5

10.75

10.875

11

13

15

17

19

35

50

Metric Sizes

1.0 mm

1.25 mm

1.50 mm

1.75 mm

2.0 mm

2.25 mm

2.50 mm

2.75 mm

3.00 mm

3.25 mm

3.50 mm

3.75 mm

4.00 mm

4.50 mm

5.00 mm

5.50 mm

6.00 mm

6.50 mm

7.00 mm

7.50 mm

8.00 mm

9.00 mm

10.00 mm

12-12.75 mm

15-16 mm

19 mm

25 mm

UK Sizes

19

18

17

15

14

13

-

12

11

10

-

9

8

7

6

5

4

3

2

1

0

00

000

-

-

-

-

Old Port Hat

Circle of StitchesComment

Old Port Hat

By Andrea Mowry

Andrea designed this hat during her first New England winter, and I can tell you from wearing this hat all season, THIS is the hat for our cold and windy winters. All the warmth you need around your ears and just the right amount of ventilation at the top of your head to keep you the right temperature. 

If you’ve seen me at the shop in the last few months, and you’ve brought up hat patterns, you’ve probably heard me talk about how much I love my Old Port Hat

The Old Port Hat was my second adventure in brioche. It’s the more mature older sibling of Andrea Mowry’s Harlow hat. It features a double brim and cute ear cover details. I had been looking for a use for my very special Rhinebeck skein of cashmere and wool blend yarn, and an excuse to give a Harrisville Nightshades a try. Old Port was the perfect pattern!

I enjoyed this pattern so much I knit it twice. Not something I do often! This time I was testing how well a fingering weight yarn pairs with the DK weight yarn in this pattern. I’m happy to report that any sock yarn will work well!

Below are some yarn suggestions for this pattern.

Maybe you have some Nightshades/Daylights leftover from your Nevasca shawl? My hat used a little less 30 grams of Harrisville Nightshades in Last Call. 

Woolfolk TYND would make a great companion to a Harrisville Nightshades/Daylight in this pattern! Woolfolk is known for their extra fine, extra soft merino yarns, and it will be so cozy against your ears! (Is making a third hat too many??)

There’s no reason you couldn’t make this using Harrisville daylights instead!

Crazy Zauberball is Happiness for Your Feet

Ana CamposComment

I’m sitting here on this very chilly Monday, after another snowed-in weekend in the Witch City. On these super cold days, I always reach for my Crazy Zauberball socks. I rarely stray away from hand-dyed sock yarns for socks, but Zauberall is one of my few exceptions (along with Regia Premium Merino Yak).

About six years ago, I whipped up this pair of Wintersmith Socks in their Kleiner Fuchs colorway. Today, they’re showing some signs of being well-loved over the years (a few pills, definitely plenty of cat hair from living with four cats), but they’re good as new.

My Crazy Zauberball socks always come out in the depths of winter. All the colorways in this sock yarn collection are gorgeous long striping gradients, and the burst of color on my feet always cheers me up - even if they’re hiding inside my snow boots.

Zauberball can be a little scary to my fellow East Coast knitters. West Coast knitters are more rugged, and they tend to have a greater appreciation for rustic, hard-wearing wools. They know how to layer them, and that these rustic woolens are warmer and offer better protection against the harsh temperatures. East Coast knitters tend to prefer softer wools, leaning more heavily towards the softer hand of merino wool.

Rustic wools are the unsung heroes of super cold weather knitting. Even I can admit that Zauberball is a little too scritchy and itchy for crisp fall days (I stick to my hand-dyed merino blends for that season), but it’s perfect for winter. The itchy barbs in wool lay flatter the colder it gets, so while your Zauberball socks may feel like too much in October, by February, they are the best things to wrap your feet in.

The Wintersmith Socks are a pattern I wrote a few years ago, specifically with Crazy Zauberball in mind. This sock pattern is knit toe-up with a short row heel, and the plain stockinette really lets the beautiful gradient colors shine. But it also has a special detail: the Wintersmith Socks feature a princess sole! This means the sole is knit with purl side facing out, so you get to walk on the smooth stockinette side. This simple detail really makes all the difference!

Wondering if you should make a pair? You can also check out Tessa’s gorgeous Crazy Zauberball socks!

Lifelines

Circle of StitchesComment

Did you know that you can install an insurance policy for your mistakes into your knitting? Lifelines are a valuable tool to save your stitches! A lifeline is a smooth, much thinner thread that is placed through every stitch in a row. The stitches are not moved off the needles, the thread runs straight through a row and then is ignored unless you decide you need it. One of the most valuable traits of a lifeline is that it helps keep your stitches oriented in the correct direction. No accidental twisted stitches!

How does a lifeline work? After you “install” the lineline, you just keep knitting! If you make a mistake you can’t fix, you can comfortably rip back to the lineline to save your progress. Add a new lifeline after every vertical chart repeat, or anywhere you want a little safety net.

Lifelines are useful if you’re about to:

  • try something new

  • try something challenging 

  • deviate from the pattern 

  • or you want the confidence that you won’t need to frog beyond that point in the future

Our favorite things to use for lifelines:

Did you know that your Chiaogoo Circular Needles have a lifeline hole built into them? At the base of your needle is a hole where you can tie your lifeline, then you just knit your row as usual! If you tie your lifeline to your left needle your lifeline will run through your last row, if you tie your lifeline to your right needle your lifeline will run through your current row. (Warning: This method is not recommend for patterns with a lot of stitch markers as your lifeline will need to be untied and retied to the needle to exclude every stitch marker). Make sure you leave a few inches on either side of your lifeline so that your knitting can stretch and the lifeline doesn’t fall out of the edge stitches.

The lifeline hole on your needle is located where the needle meets the cord.

I used #10 crochet thread. This was about as thick of a string that would fit through the needle.

Tie a knot tight enough to make it through a row of knitting, but loose enough to take it off easily when you reach a stitch marker or finish the row.


If you don’t have needles with a lifeline hole in them, that's ok! You can simply use your darning needle to thread all your stitches onto your lifeline.  Tip: If you’re using circular needles, move your stitches to the cable to make it easier to thread your needle through your stitches.